Learning how to sew a button on can be deemed as an essential life skill. You never know when a button is going to give up or pop off the dress or shirt you are planning to wear. Normally, this kind of incident happens when you are about to walk out the door or go somewhere important! Men, women, boys, and girls could all benefit from knowing this sewing skill.
Materials You Will Need
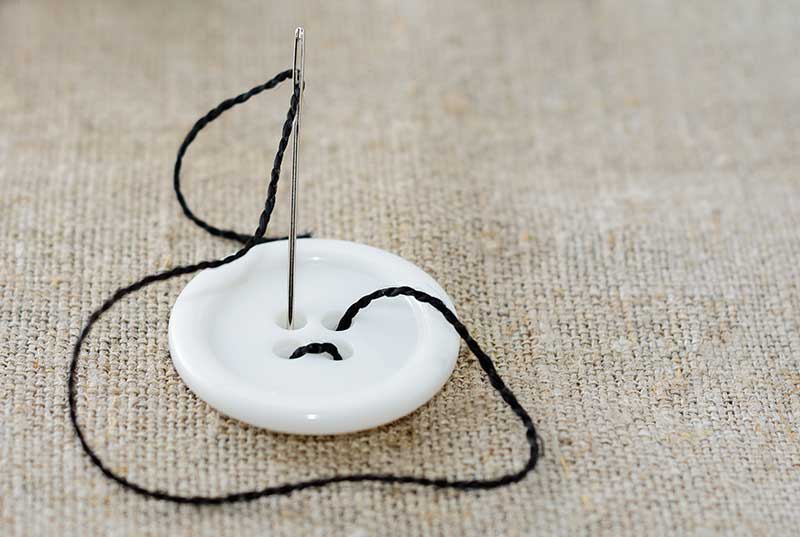
Button
A button of the same size or the original one that fell off. Most shirts come with a spare button sewn into their side seam. So make sure to check that out first before buying one or digging into your arsenal. Clothing usually has flat buttons with 2 or 4 holes.
Thread
Get a thread that matches the thread of the other buttons. The thread may match the button itself or the fabric underneath. If they don’t match, consider using thicker threads so it is quicker to sew the buttons on.
Needle
A needle to go through the buttonholes. General-purpose needles are called sharps.
Cutter
A pair of small sharp scissors.
Marker
Make sure you have a water-soluble marking pen if new buttons if you will sew new buttons for the first time. Do not use a regular felt pen since it’s likely that the ink may bleed on your garment when you wash it. If you need to improvise, a sliver of soap will mark darker fabrics.
Garment
And lastly, of course, the fabric or shirt to sew the button onto.
You may want to get yourself a cheap sewing kit if you’re always away or regularly prone to having buttons popping off. This is pretty handy in the event of an emergency button repair.
If you’re traveling and don’t have the above supplies, ask the front desk at your hotel for an emergency sewing kit. They’ll very often have one to give you. But because you never know where and when one of your buttons will pop off, it is advisable to have one with you all the time.
Step By Step Instructions On How To Sew A Button On
Start by marking the spot if this is a new button. Or use the same spot the old button fell off. Mark this spot on the right side or the outside part of the fabric.
Step 2: Thread the needle
If you have 24 inches consider doubling over. That means sliding your thread through the eye of the needle and then doubling it over until you have equal amounts on either side. You want at least 12 inches to work with. A doubled-over thread can just have the ends knotted together in a basic square knot, or you can use the same method as a single end.
If you have less than 24 inches of thread, you’ll have to use a single thread. Slip a bit of slack through to tie it off with. An inch or two should be plenty of slack but use as much as you need
To tie off the back end of a single thread, you can either tie a few small overhand knots, or you can just wrap the thread around your forefinger several times. Roll the loops into a tight bundle with your thumb, then slip the whole bundle off your finger. Grip the bundled loops with one hand and tug the long end of the thread tight with the other. This should pull the loose bundle into a tight knot.
In either method, once the knot is tied it’ll be used as the first anchor to help keep the thread from coming loose.
Step 3: Starter stitch
From the right side of your garment, put the needle down and then come up a short distance away. This way the button will hide your knot.
Step 4: Through the holes
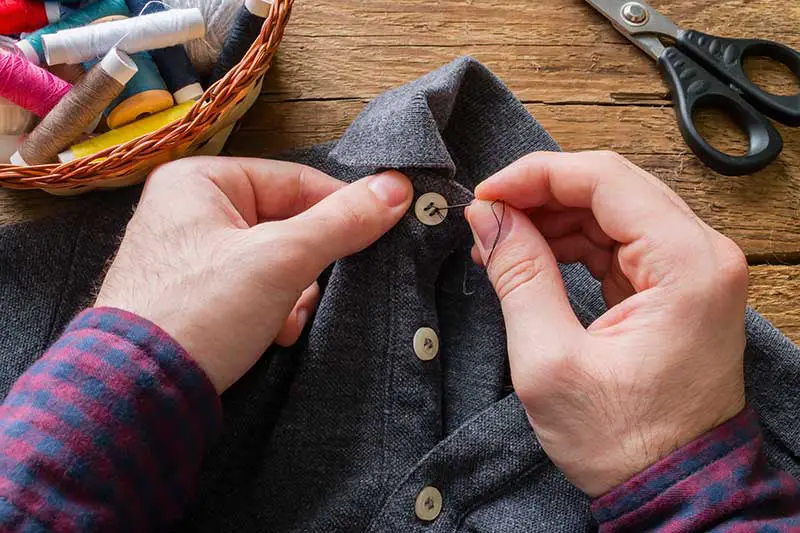
Insert the needle through the underside of the button and up through the button to the right side.
Hold the button on your fabric with a finger and push the needle through the hole on the other side. For a 4 hole button, you will sew across diagonally. Unless you are copying other buttons on a shirt that are stitched side to side.
Step 5: Create height
Pull the button up gently and slip a pin or toothpick beneath that first stitch. The added length created in the threads will be used to create a shank.
You can easily create a shank by sewing over a toothpick or pin while you stitch through the holes of the button. This simply enables your button to fit better if the fabric is a bit thicker or has more than one layer as is common in most shirt fronts.
Continue to sew from side to side to secure the button. Make sure you have enough stitches so that your button is nice and tight.
If you have a 2 hole button skip to the next step. On the other hand, if you have a 4 hole button, then stitch across the other holes to form a cross shape.
Step 6: Wind and finish
On the last stitch, bring the thread through the back of the fabric and to the space below the button. Then, remove the pin and wind the thread around the longer threads under the button. Usually, it is enough to do this 3 to 4 times. This will lift the button up off the fabric slightly.
Knot off the thread under the button. Probably the easiest knot to tie off is a simple overhand loop tied with the needle still attached. You can do this by taking a tiny stitch underneath the button. Before the loop of thread is pulled tight, put the needle back through the loop. Repeat this a couple of times.
Step 7: Cut
Cut your threads using your sharp little scissors. All this will be hidden by the button so your underside will look nice and flat.
You can use these instructions on how to sew a button can be on shirt buttons, suit buttons, or trouser buttons. Hopefully, you can put this to good use!


