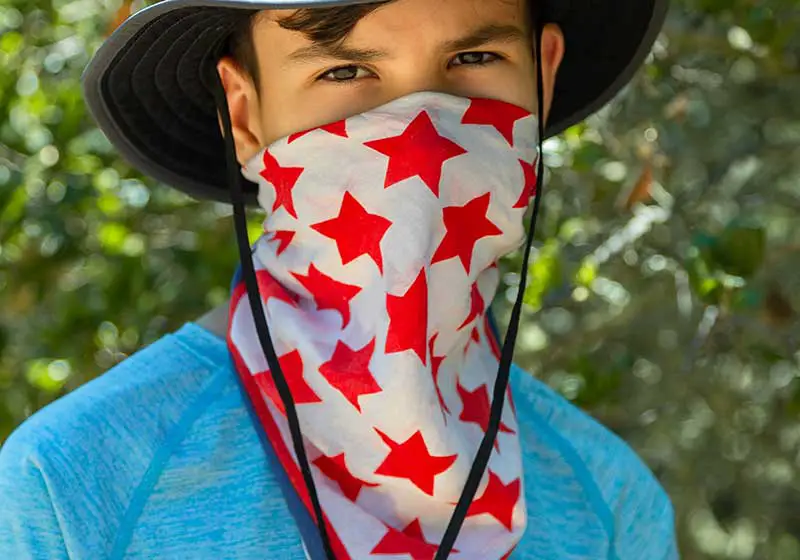
Masks made from bandana are can help protect you and your loved ones from viruses. They can also prevent you from touching your face when you’re in a public place or around a lot of people. On top of that, they are these masks look pretty cool.
In this tutorial, we’ll show you how to make a bandana mask in two ways. You can hand sew it if you don’t have a sewing machine, don’t have access to one, or if it’s not for you.
There have been tons of discussions about homemade face masks and how safe they are. If you’re short of medical-grade face masks with filters, these options are better than nothing at all according to the CDC.
Table of Contents
Important Things To Keep In Mind About Homemade Face Masks
Before you start learning how to sew a bandana mask, make sure to consider if you truly require one. The official advice about wearing this will differ from state to state. But generally, wearing a DIY face mask is not full-proof that you will not acquire Covid-19.
Nevertheless, it can help protect you from passing germs that you may be carrying to others. Likewise, it is especially beneficial if you are asymptomatic, and you are not aware of it. Keep in mind that homemade masks are not medical-grade so you may also want to include a filter when making one.
It is highly recommended by the CDC to wear a face mask whenever you’re in places where it’s not possible to follow social distancing protocols. Additionally, some states require people to wear them out in enclosed or public areas, including public transport, supermarkets, and pharmacies.
So make sure to check local guidelines. And just because you’re wearing a face mask, that doesn’t mean that you will forget about social distancing measures or practice good hygiene. Moreover, it is vital to be very careful when putting your mask on and off.
Step-By-Step Instructions On How To Sew A Bandana Mask By Hand
Supplies you’ll need:
- Bandana
- Shoestrings
- Sewing needle
- Thread
Instructions
Step 1: Cut the bandana
Whether you’ll use an old or new bandana, wash it several times first. This will not only ensure that it is clean, but it will preshrink the fabric. Then, press it with an iron.
Measure around 21 inches square. It’s okay if it’s not perfect. Press your fabric and fold up 6 inches from the bottom and cut across it. Make another cut up through the center of your bandana at about 10.5 inches. This will provide you with materials to make two bandana face masks.
You will have an excess piece of fabric, which you can also make into a mask if you want to. Basically, you can make three face masks with one bandana.
Step 2: Put the fabric pieces together
Put the wrong sides of your fabric together. You can tell which is the wrong or right sides by looking at the fabric’s hemmed edge.
One edge of your DIY bandana mask will be the folded edge. Meanwhile, you will stitch the other three edges by hand. Leave around 2 inches of opening along one of the three edges. You will use this when turning the mask after you’re done sewing it.
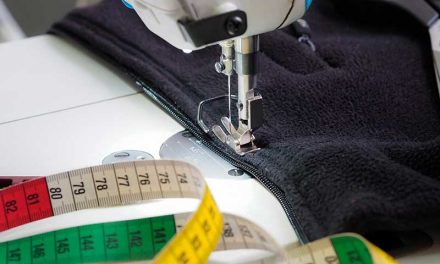
Step 3: Sew your bandana face mask
Thread your needle and knot the end. begin at any corner and apply small stitches around the mask. Stitch about 1/4 to 3/8 inches from the edge. Don’t forget to leave the opening so that you can turn it in.
When you reach the corners, strengthen that area by making a few extra small stitches that will hold better. Once you’ve sewed around the edges, turn your bandana mask to get the right sides up. You can use a pair of scissors or a wooden spoon to push the corners of the fabric out. But make sure to be careful that you don’t push through the material when using scissors.
Test how sturdy your stitches are by pulling gently on the seams. If the seams appear to pull apart too easily, you may have made your stitches too loose or too long. If this happens, simply sew again using shorter, tighter stitches.
Keep in mind that you don’t want the stitches to be so tight that it gathers the material. Nevertheless, you do want them to be snug enough not to pull open at the seams.
- You can simply use a regular sewing or quilting thread for your homemade face mask. Pick a color that matches the bandana. If it’s not available, just use whatever you have on hand.
- For the needles, consider using a mid-ranged size if you find it harder to hand stitch with a shorter needle.
- It is convenient to wear a metal thimble on your fingers to aid push the needle through the fabric.
Step 4: Pin tucks
Create two tucks or pleats in the mask. Then, pin to keep them in place. Stitch along the tuck and strengthen with additional stitches right at the folds. Once you reach the end turn and sew again. As an extra measure, insert your needle through to the back of the mask and stitch down that side too. Continue to strengthen your stitches at folds.
Step 5: Sew the shoestrings
You can use 36, 45, or 54 inches shoestrings, whichever will work best for you.
Fold your mask and mark the center point with a pin. Fold one shoestring and find the center. Pin the center of the shoestring to the center of the mask and pin along the edges.
Now, pin your shoestring over the area that you left open so that you can turn your hand-sewn bandana mask. When doing so, ensure that the raw edges are tucked to the inside. Pin the shoestring right on top of it and sew it in place applying small stitches and reinforcing the corners with additional stitches.
You can stitch down one edge of the shoestring first, turn, and stitch down the other side. Doing this rather than just using pieces attached to the corner can help make the strings more stable when they are tugged on.
Final Words
How to sew a bandana mask can be fun and easy as long as you know what to do. If you want your DIY face mask to have multiple layers, you may use the extra fabric left to sew three or four layers together. However, make sure that you are still able to breathe through it.
Moreover, once you put your cloth face mask on, leave it alone and avoid touching your face. When taking it off, do so without touching the outside of your bandana face mask and place it in the laundry immediately.