Adding or changing collar designs is one of the easiest ways to vary the style of your homemade garments. This fine detail can add character and frames the face, giving a more tailored look to an outfit. But whether you’re a beginner or a professional sewer, it can be tricky to add a collar to garments.
Luckily, there are some easy ways on how you can simplify the process. This tutorial on how to sew a collar can help you when sewing shirts, blouses, and shirt dresses. We’ll show you how to make a basic style arc that includes sewing a collar to a collar stand and also a collar stand to a neckline.
So if you want to make the perfect collar, just follow the steps we have here!
Table of Contents
Tools And Materials You’ll Need
- The fabric of your choice
- Matching sewing thread
- Fusible interfacing
- Sewing machine
- Pattern paper
- Pen
- Sharp scissors
- French curve or hip curve
- Ruler
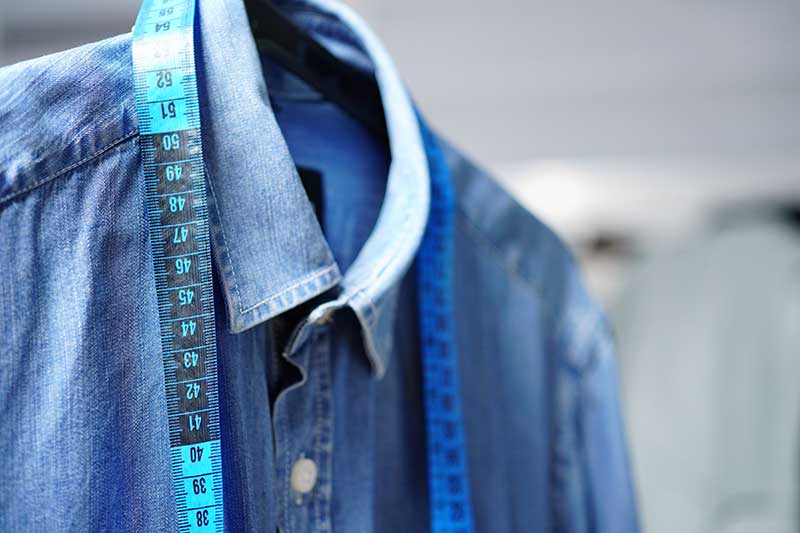
- Tape measure
- Pins
Drafting The Collar
The garment neckline and the inside edge of the collar stand have to be the same length. That’s because the collar typically follows the curve of the garment neckline.
Traditionally, the color block is made from the center front to the center back. Therefore, it is across half the length of the collar and made symmetrically for the other half, with a fold at the center back.
Step 1:
Find the center back of your fabric by folding the back panel in half and then mark the spot by placing a pin on it. Measure the length of the neckline from the center back to the center front using a flexible tape measure and the length from the center back to the shoulder seam.
Make sure to measure only the finished stitching line of the neckline and do not include the seam allowance. This means that you have to position your measuring tape at the line where your seam allowance ends and not at the raw edge to ensure you get the right length.
Step 2:
Draw a straight horizontal line to the length of your center back to the center front measurement. This is usually a distance of half the neck size measurement.
Step 3:
At the center back, draw a perpendicular line of around 4.25 inches high and mark the following increments:
- 1 inch for the stand
- 1.5 inches for a gap
- 1.75 inches for the collar fall
It’s all up to you whatever height you want your collar stand and collar fall to have. Nevertheless, the rule of thumb for the collar stand for a woman’s garment is 1 inch high while the collar fall is somewhere between 1.5 to 2 inches.
In this tutorial, we will use these traditional measurements. Still, you may vary them if you want to. You may even use one of the shirts in your closet as a guide.
Step 4:
At the center front, draw a perpendicular line of about 4.25 inches high and mark the following increments:
- 3/4 inch for the curve of the stand
- 1 inch for the stand
- 3 inches for the collar
Step 5:
Mark the center back shoulder seam measurement that you took earlier. We’ll refer to this as point A. Then, use your hip or French curve to draw a curve from this mark up to the 3/4 inch point on the center front line.
Step 6:
Measure up 1 inch from the line and draw a parallel curvy line across the full length. Then, draw a smooth curve between the two parallel lines at the tip of your collar stand.
Step 7:
To ensure that your collar fall fits perfectly between the collar stand pieces, make your collar base slightly smaller. On the collar stand, measure 1/8 inch from the start of the tip curve. This is what will serve as your point B.
Step 8:
On the center back line, draw a straight parallel line from the 1.5-inch mark to the measurement of your center back to the shoulder seam. We’ll call this one point C.
Step 9:
Now get your curve ruler and measure the distance between points A and B on the collar stand. Next, turn the curve over and match the numbers to the same points to replicate the exact line along the collar from point C to point B on the collar stand.
Step 10:
To create the collar fall points, draw a 2-inch line from point B to the center front line. Then, pivot your ruler until you get a 2-inch long diagonal line. We’ll refer to this as point D.
Remember that you can modify the shirt collar design by making the points shorter or longer. Likewise, you can give it a different shape, like round for instance. Still, you need to ensure that you do not take away or add to from the collar neckline when changing the shape. Otherwise, your collar will not fit the collar stand.
Step 11:
Draw a straight parallel line from the 1.75-inch mark on the center back line to the measurement of your center back to the shoulder seam. We’ll call this point E.
Step 12:
Lastly, draw a smooth curve between points D and E to complete your collar.
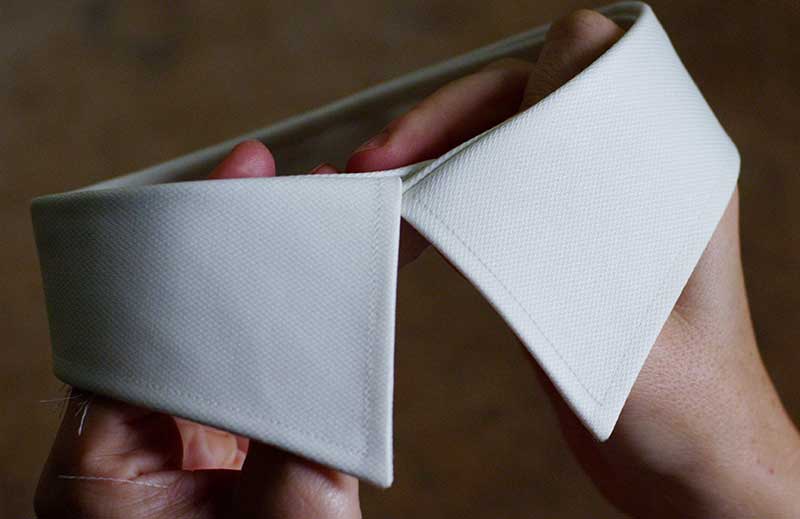
Cut out the collar fall and the collar stand to separate them. Then, take a new large sheet of pattern paper and trace both pieces to create full collar shapes. Add your usual seam allowance around all edges and cut out your pattern again.
Do not forget to double-check all the measurements before you go any further. Make adjustments if necessary by adding or subtracting fabric from the center back fold end of the collar.
Instructions On How To Sew A Collar
Step 1:
Cut two collar stand and two collar fall pieces (inner and outer, respectively) on the grainline of your fabric. Cut one collar stand and one collar fall piece in fusible interfacing but cut away the seam allowances to eliminate bulk in the finished garment.
You have a choice not to use the fusible interfacing. However, if you want to add to your collar a crisp look and give it some extra support, it is advisable to interface your pieces.
Step 2:
Apply fusible interfacing to the wrong side of one of your collar fall pieces, and one of the collar stand pieces. The interfaced pieces are your undercollars and the non-interfaced main collars.
Step 3:
The assembly begins with the collar fall. Pin the undercollar and collar right sides together and stitch around the outer three edges. Then, grade the seam allowance and clip the corners.
Step 4:
Turn your collar right side out and press. Use a sharp dull object like a chopstick to get the corners out. When you press, ensure that the seam rolls to the undercollar (interfaced piece) so that you can’t see it. This will result in a much neater look.
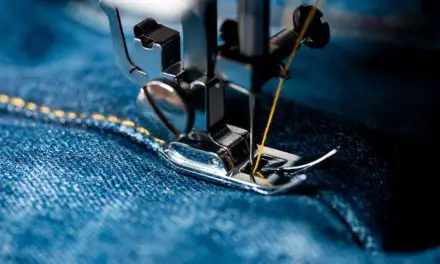
Run a line of topstitching as close to the edge as possible around the outer edges of the collar.
Step 5:
Get your interfaced collar stand piece and press the 3/8-inch seam allowance towards the wrong side. Afterward, sandwich your assembled collar between the two collar stands with the right sides touching and aligning the raw edges.
Pin around the curved edge.
Note that the non-interfaced or pressed collar stand piece should touch the interfaced collar fall piece and vice versa. That means the interfaced collar stand piece is positioned on top of the non-interfaced collar fall piece.
Step 6:
Stitch around the pinned edge all layers at once with about 3/8-inch seam allowance. Trim the seam allowance down to 1/4 inch and create a few notches around the curve to release the tension. Clip to but not through the seam line.
Turn the collar stand right side out and press it away from the collar. At this point, you’re ready to attach the collar block to your shirt.
Step 7:
Pin the right side of the collar stand without interfacing from end to end to the right side of your garment. Use plenty of pins to make sure it sits well.
Stitch through these two layers from one end of the neckline to the other at a 3/8-inch. Again, trim it to 1/4 inch.
Step 8:
Working from the right side, press the collar away from your garment folding the raw seam allowance towards the collar.
Now, take the other collar stand that has the interfacing and the pressed seam allowance and fold it over to the inside of your garment enclosing all the raw edges. The folded edge should go a little past the stitch line that we’ve just created. Pin in place.
Step 9:
Working from the right side of your garment, topstitch the collar in the crease to attach the back section. Afterward, topstitch around the collar stand.
Step 10:
Give your collar a last good press and you are all done with how to sew a collar! Simply follow the rest of your garment’s pattern instructions to finish your project.
