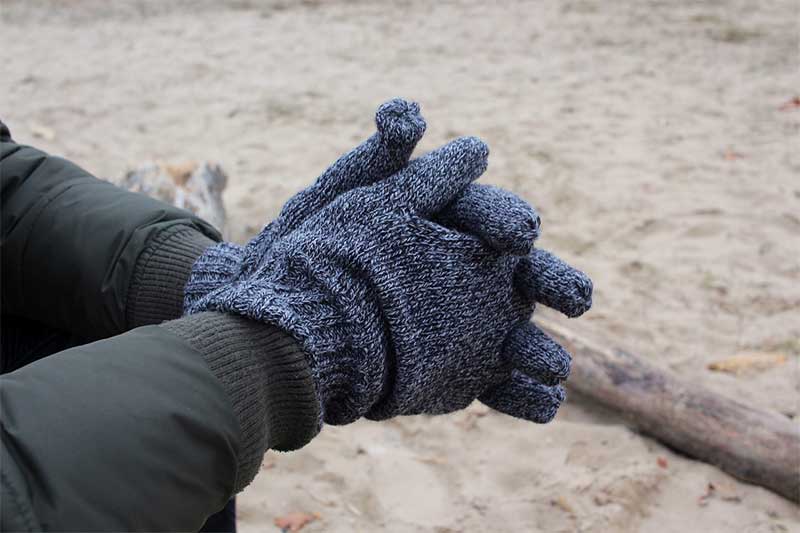
How to sew gloves may seem like a hard and tricky sewing project to undertake. But with the right tutorial, you’ll find the entire process is quite easy. You start by making a glove pattern that will fit your hands perfectly using an old t-shirt or any thin fabric with enough stretch.
After tracing the pattern using your hand onto the fabric of your choice, sew along the lines, cut any excess, and finish off your gloves by hemming it. With this tutorial, you’ll be able to make a fancy pair of gloves to wear with a dress, warm winter gloves, and even costume gloves when you have to dress up!
Table of Contents
- 1 Choosing The Fabric
- 2 How To Create A Gloves Pattern
- 3 Instructions On How To Sew A Glove
- 3.1 Step 1: Fold a piece of fabric
- 3.2 Step 2: Pin your paper pattern to the folded fabric
- 3.3 Step 3: Trace along the edges of your paper pattern
- 3.4 Step 4: Remove the pins from the paper pattern
- 3.5 Step 5: Sew a straight stitch along the lines
- 3.6 Step 6: Cut off any excess fabric
- 3.7 Step 7: Hem the opening of the glove
- 3.8 Step 8: Turn the glove right side out and try it on.
- 3.9 Step 9: Repeat the process to make the second piece of your glove
Choosing The Fabric
It is vital to choose the fabric when making your DIY gloves. If you have a part spandex t-shirt, that will be perfect. Nevertheless, a lot of t-shirts for women have enough stretch. Also, any stretchy knit that’s just as thick as a t-shirt will work fine. Sweaters and other thicker shirts are not a good idea since thick fabrics will not feel comfortable between your fingers.
To determine if your fabric of choice is stretchy enough, hold it with your hands around 4 inches apart. Then, move your hands apart, and make sure that the part in between your hands stretches easily to 8 inches. If it does, it will work great for making a pair of gloves.
How To Create A Gloves Pattern
Step 1:
Trace the outline of your hand onto a piece of paper long enough to create the size glove you want. Next, press your non-dominant hand on the paper with your fingers spread apart. For instance, use your left hand if you are right-handed. Hold a pen or pencil in your dominant hand and use it to trace around your other hand.
Step 2:
Extend the sleeve of the glove to the length you want. You have a choice to end the glove at the wrist for a pair of short gloves. Or you may extend the lines down from the wrist to make your gloves longer. Regardless, make sure to include an extra 1/2 inch for hemming the sleeve later.
Then, press your forearm against the paper and continue to trace alongside your non-dominant arm. Trace along both sides of the glove and then draw a line to connect the ends of the two lines. This will indicate the end of your glove.
Step 3:
Cut along the lines of the paper pattern using a sharp pair of scissors. You may want to go slowly to avoid creating any jagged edges or cutting off part of your pattern.
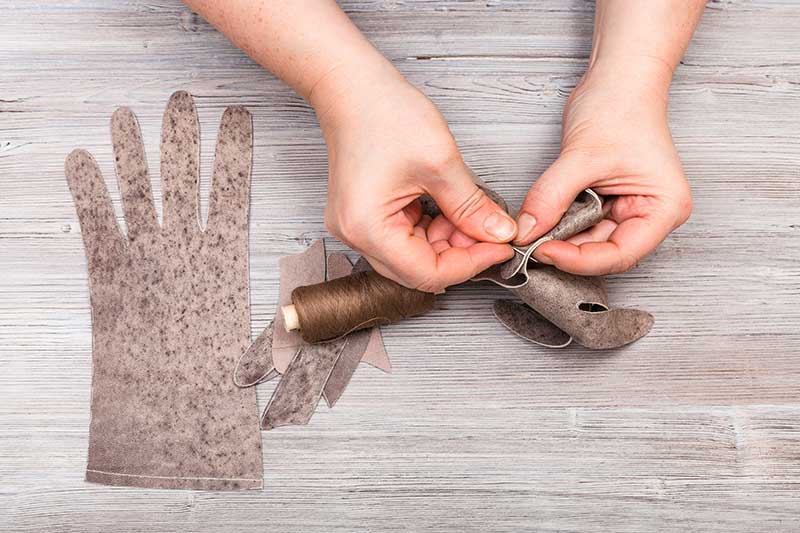
Instructions On How To Sew A Glove
Step 1: Fold a piece of fabric
Fold a piece of fabric large enough for the entire glove pattern. The right (outer or front) of the fabric should be facing in. Then, smooth it out so that there are no lumps or bumps. Check to make sure that you can fit the whole pattern on the folded fabric and cut it out in one piece.
Step 2: Pin your paper pattern to the folded fabric
Once you have your glove pattern in place on your fabric, insert pins along the edges of the paper pattern. Go all the way through both layers of fabric.
Insert one pin every 2 to 3 inches going all the way around the edges of the gloves.
Step 3: Trace along the edges of your paper pattern
Outline your paper pattern directly onto the wrong side of the top layer of your glove fabric. Next, trace right along the edges of the glove pattern.
Make sure the fabric marker or pen you’ll use will be visible on your garment so that you’ll be able to see it clearly.
Step 4: Remove the pins from the paper pattern
After removing the pins from your glove pattern, insert pins along the edges of the fabric only every 2 to 3 inches and 1 through each of the fingertips. Doing so can help keep the fabric together as you sew.
Step 5: Sew a straight stitch along the lines
Set your sewing machine to the straight stitch setting and raise the presser foot. Afterward, place your fabric under the presser foot and start sewing where the sleeve of your glove starts.
Sew a straight stitch throughout the side of the glove sleeve and around the sides and tips of the thumb and fingers. Then, sew back down and around to the other side of the sleeve.
Things to keep in mind:
- Do not sew across the glove’s opening.
- If you want a pair of fingerless gloves, leave the end of each of the fingers and thumb open as well.
Step 6: Cut off any excess fabric
Once you’re done with sewing, remove the fabric from your machine and snip away the thread with sharp scissors. Then, cut around the outside of the stitches and remove the excess fabric. Cut roughly 1/4 inches from the stitches and across the line at the bottom of the glove.
Step 7: Hem the opening of the glove
Fold over 1/2 inch of the fabric at the opening of the glove so that the wrong sides of the fabric are together. Next, sew a straight stitch approximately 1/4 inch from the folded edge going all the way around the end of the glove.
Step 8: Turn the glove right side out and try it on.
When you finish sewing the hem, your homemade glove is ready to wear. Simply turn it inside out and slip it on to see if it fits you just right.
Step 9: Repeat the process to make the second piece of your glove
Make the second glove exactly how you made the first one. There’s no need to create a new pattern. Simple use the same pattern to create a matching glove and follow the same process for tracing the pattern onto the fabric, sewing along the lines, and cutting it out.

