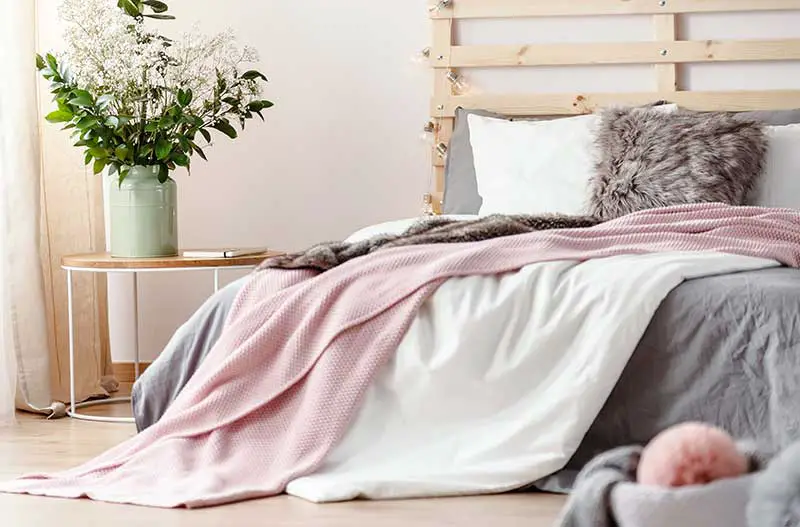
Have you found a beautiful piece of wool and polyester blend fabric that would look perfect as a blanket? Nice blankets can be made of all kinds of fabric if you know how to do it right, and a big part of that is sewing the binding. Knowing how to sew a blanket binding is also a great skill to have in case the binding on any of your existing blankets gets damaged. Replacing it is actually really easy, just follow our tutorial!
For the uninitiated, bin refers to the narrow piece of fabric that surrounds the edges of most blankets and quilts you see. Binding helps hold everything together and prevent the edges from fraying. Not only this, but if done right, it can also greatly improve the look of a blanket.
Table of Contents
What You’ll Need
- The blanket
- A pack of satin blanket binding (or make your own)
- A sewing machine
- Sewing pins and/or binding clips
- A good pair of scissors or a rotary cutter
- Cutting mat (optional)
- Ruler
- Thread in matching or complementary colour
- Iron and ironing board (optional)
When it comes to binding, the easiest way to go is to buy satin binding, bias tape, or any kind of pre-packaged binding you like. The most common width for binding tape is 2 inches, but you can choose one that’s more narrow on wider – it depends on how you want your blanket to look.
What matters more is the length of the binding tape. To figure out the length to eat, you’ll want to add together the length of each side of your blanket (that’s two times the length and two times the width of your blanket). Add 10 to 20 inches to this number, so you have enough tape to work comfortably.
Two Types of Binding
There are two common ways to do binding: single-fold binding and double-fold binding. As you might infer from the names, the single-fold binding will cover the edges of your blanket in a single layer. With double-fold binding you are working with binding strips that have already been folded lengthwise to create two layers of fabric.
Double-fold binding is more commonly used for quilts as it is more durable and helps hold the multiple layers of a quilt together. You can read about double-fold binding in our guide to quilt binding, but today we are going to talk about single-fold binding. It is much more commonly used for blankets. If you are using satin binding tape or bias tape, doing a single-fold binding is also the easiest and quickest way to finish off your blanket. Here is how to do it:
Sewing the Binding On
Pre-packaged binding is usually folded slightly off-center to make it easier for you to work with it. The slightly shorter side should be on top, and on the right side of your blanket. This is not that important, though, as the sides are almost the same.
What you’ll want to do is sandwich the edge of the blanket inside the two layers of the binding. The blanket should go all the way inside to the folded edge of the binding. You can start at any point you like, since you’ll be making a full circle anyway. In any case, make sure the binding is set straight all the way down the side you have chosen.
If you feel confident, you don’t have to use pins, but if your binding tape is made of a slippery fabric, we highly recommend it. For satin, make sure your pins are thin and sharp. Alternatively, you can use binding clips for this purpose – they really make the process a lot easier.
Once the binding is in place, all you need to do is sew in a straight line, as close to the edge of the binding tape as you can. If you’ve got binding tape with woven edges, you can use any stitch you like, but if you are worried about the edges fraying use a zig-zag stitch.
Mitered Corners
So far, the process has been quite straightforward. But, what about the corners? It’s time to breathe a mitered corner. Hint: it’s easier than it sounds.
What you’ll want to do is open up the binding and fold it 45 degrees towards the next side of the blanket you are going to do. You should have a corner at the top of the side you were just sewing, and the binding standing where it should be on the back, but open on the front and stretch further from the front side. Fold it over again and you’ll have a nice mitered corner. Secure with pins or binding clips and continue sewing along the edge of the binding tape.
When you reach the exact corner point, just stop sewing and pivot the blanket 45 degrees without removing it from the machine. Keep repeating until you have completely surrounded your blanket. Once you reach the end, all you need to do is tuck the end of the binding inside the fold where you started.
If you need to add an extra piece of tape along the way; there is no need to do extra seams. All you need to do is just place the binding over the old pay with the two layers overlapping for approximately 1 inch. Then simply keep sewing along the edge and the two pieces of tape will stay in place.
If you want the corners to be extra secure, add a couple of slip stitches to keep them in place once you are done with everything.
Final Thoughts
As you have seen, sewing your own blanket binding is not that difficult! In fact, it’s one of the most rewarding sewing machine projects for beginners. Give it a try, and you’ll soon fall in love with it. With this technique, you can customize any blanket or quilt and give it a personal touch.


