Are you looking for a way on how to sew an inside zipper pocket? Equipping your clutch or handbag with a zippered pocket can help keep your valuables safe. And the best part of it is that making it is quite easy and will look sharp inside or outside your purse.
With that in mind, here’s a simple tutorial on how you can sew a zipper pocket that you can combine with all sorts of patterns with ease.
Table of Contents
Plan Beforehand
When sewing an inside zipper pocket, it’s necessary to plan ahead of time. Before starting your project, decide how deep and long you want your zipper pocket to be.
Here are some suggestions you may want to consider:
- Leave at least 1 inch free on both sides of your project. That means if your bag is 10 inches wide, your zipper should not be more than 18 inches long.
- Put the zipper at least 1 inch below the top edge of your bag. However, more is often better. Moreover, you want to it to be at least 3 to 4 inches below the top of your bag’s interior.
- The depth of the pocket will be defined by how much room is available under the zipper. Generally, small pockets are usually 3 to 4 inches deep. A large pocket can be much deeper.
Things You Need To Prepare
- A Sewing machine
- Sewing supplies, including thread and needle
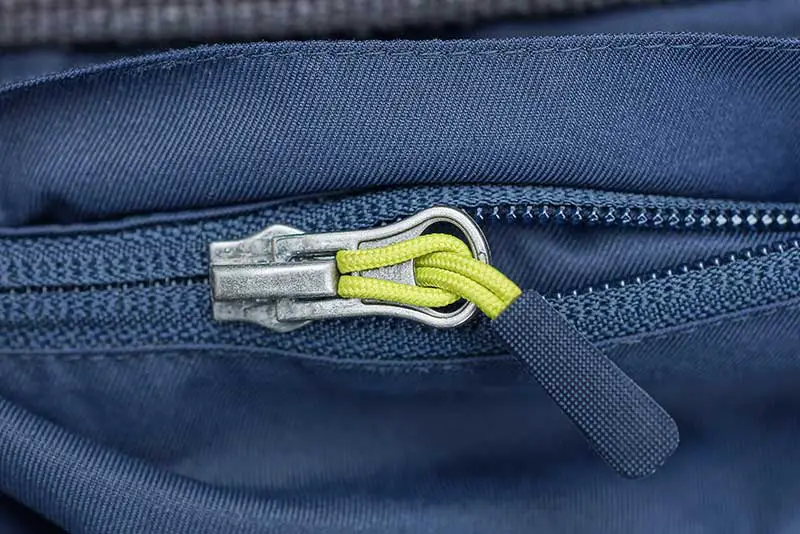
- Plastic zipper. You may consider using a metal zipper, but generally, plastic ones are easier to work with.
- Zipper foot. A necessary item that lets you get close to the zipper’s edges quite nicely.
- Double-sided tape (optional). It’s easier to hold your zipper in place with tape than pins before sewing.
Step-By-Step Guide On How To Se An Inside Pocket
Step 1: Cut your fabric
Cut two rectangular pieces of fabric for your inside zipper pocket, ensuring that they are the same size. The size will depend on your preference, the size of your bag, and what you’re planning to put in it.
For example, if you want a somewhat shallow but a little longer pocket, make them 9 x 6 inches (W x H). This size is perfect for putting your phone inside the pocket sideways.
Step 2: Measure your zipper
Measure the length of your zipper. It should be about 2 inches shorter than the pocket and about an inch longer than the size of the opening you want to make. So if you want to create an 8-inch opening, use a 9-inch zipper.
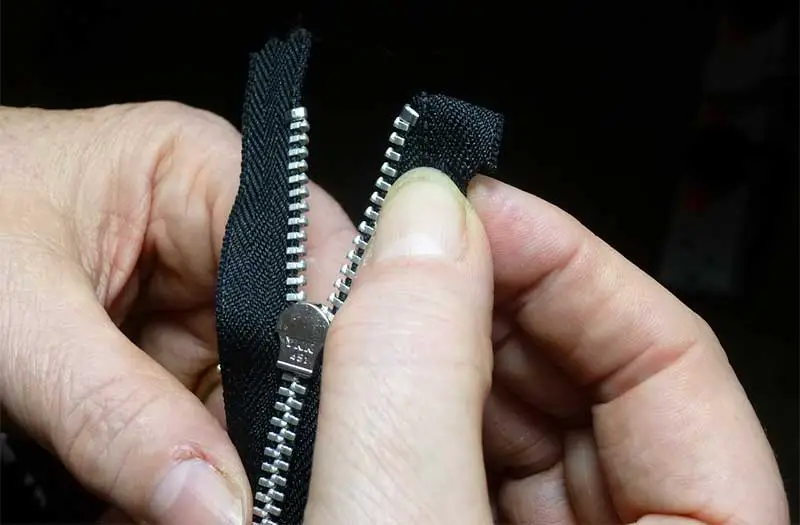
If you have a longer zipper, here’s how to shorten it:
- The length of the zipper refers to the length of the teeth and not the tape. So a 10-inch zipper measures 10 inches from the top stoppers to the bottom stopper.
- To measure your zipper, begin at the top, then downwards to get your desired length. Mark this and ensure that the zipper head is near the top stoppers.
- In the area you want your zipper to end, stitch across the teeth a few times to prevent your zipper from coming apart.
- You can do the stitching on your machine using a wide zig-zag stitch or with a few hand stitches across the zipper teeth.
- If you will hand sew, use a strong double thread, like an upholstery thread. When using a sewing machine, you can use your regular polyester thread.
- Using a pair of old scissors (not your sewing scissors), trim across 1 inch from your stitches.
Step 3: Position the pocket
Position one fabric zipper piece on the body of your bag with its right sides together at least an inch from the top edge. Check and ensure that you have it in the center.
Step 5: Mark the pocket’s opening
Mark the stitching line for your zipper pocket opening. The stitching line should be 3/4 inch wide and the length you want. Additionally, you will require about 1 inch at both ends so you can stitch around the inside sipper pocket in the final step.
Steep 5: Stitch opening and cut
Stitch throughout the stitching line you marked. Apply small straight stitches, around 2.0 to 2.5 cm in length.
Mark through the center of the lines and draw small rectangles on the end. Draw another line right down the center of the rectangle (lengthwise).
With a pair of sharp scissors, cut the center line and the triangle points. Be mindful you don’t cut through the stitching.
Step 6: Turn right way out
Pull your lining through the opening of your zipper pocket. Then, press it to the wrong side. If your corners have wrinkled up, simply turn the lining back to the wrong side. Check if you will be able to clip a bit further in the corners.
Step 7: Position your inside zipper pocket
Put the zipper face-up below your opening. To hold it in place, use either pins or quilters double-sided tape. Make sure that it is centered nicely and the zipper’s head should be facing up.
Then, turn to the right or outer side and stitch around the zipper applying a zipper foot. You have to be careful when doing this so that you don’t hit any metal below with the needle. Go very slowly round the edges and if necessary, turn the wheels of your sewing machine.
Step 8: Back of the pocket
Turn the body to the opposite or wrong side. Then, place the second fabric pocket piece on top with the outer or right sides together. Match the raw edges of the fabric piece. The zipper will be in the middle.
Pin the edges of the pockets without going through the outside fabric.
Step 9: Stitch the pocket
Stitch around the edges of your inside zipper pocket, giving it a 1/4 inch seam allowance. Make sure not to catch the body under and sew only around the pocket pieces.
That’s it! Your beautiful inside zipper pocket is finished. Now you have a place to put your phone, keys, and other essentials whenever you’re on the go.


