Scrunchies are amazing not only for holding back your hair but they can also help prevent damage and split ends. In this tutorial on how to make a scrunchie, you will learn to sew this stylish hair accessory in 2 sizes using your sewing machine or by hand stitching.
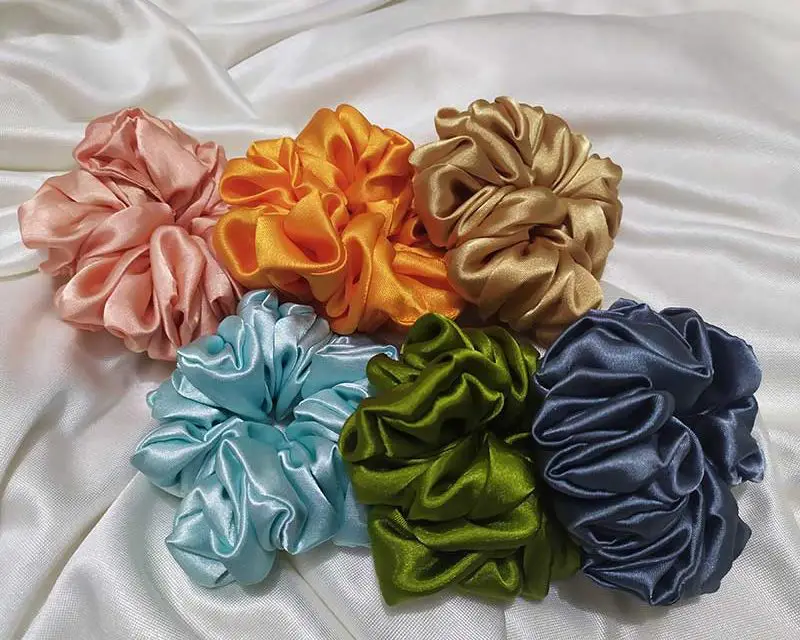
The larger scrunchie has a more traditional design with plenty of fluffy, gathered fabric when you wear it. Meanwhile, you’ll use a slightly shorter elastic and less fabric for the smaller version to achieve a more subtle effect.
DIY scrunchies are a fantastic sewing project for beginner sewers to start with. They also make nice gifts since you’ll be able to personalize them by choosing the perfect fabric for family members, friends, and colleagues.
Table of Contents
First, Let’s Talk About What A Scrunchie Is
A scrunchie is a kind of hairband covered with gathered fabric on its outside and an elastic hidden inside it. It is nice to match with your everyday ensemble and for adding a pop of vibrant color to your hair. The best thing about wearing the hair accessory is that the elastic is hidden, it will not tear or snag your hair. Therefore, it promotes healthy hair.
If you’re an 80s or 90s baby, you very well know what scrunchies are. Today, they are making a huge comeback. In fact, you can even see them worn by models on the runway. Also, there are many ways on how you can wear one, from putting it around the top of your ponytail to the bottom of a plait or a bun.
Supplies You’ll Need For Your DIY Scrunchie
Notions
- Safety pin for threading the elastic
If you’ll use a sewing machine, you’ll need:
- All-purpose sewing foot
- Thread
For hand-sewing, you’ll need:
- Hand needle
- Strong thread
- For machine sewing
Fabrics
The great thing about DIY scrunchies is that you’ll only use small fabric scraps. So now is the time to use those long-shaped scraps of fabrics that are overflowing your scrap bin. Look for any type of Lycra or cotton fabric.
Also, choose a lightweight fabric as much as you can so that you’ll be able to get that nice, gathered effect around the elastic. Avoid silk, polyester, or any slippery fabrics because your hair will fall out easily with these. Try using quilting cotton or similar fabrics that can grab your hair slightly.
If you want to use crushed velvet for a more dramatic and expensive look, note that it will be more challenging to sew as the material tends to stretch a bit. Consider using this after you’ve made several scrunchies from regular cotton fabric.
Moreover, keep in mind that you’ll be cutting a narrow strip if you’ll use fabrics with patterns. For this, look for those with a small motif such as tiny spots, flowers, or stripes. Additionally, consider whether you like something with a bold or subtle color that will complement your hair color and skin tone.
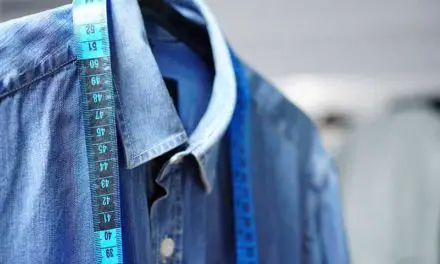
Scrunchie Measurements
Cutting instructions
- Small scrunchie: Cut a piece of fabric 2.5 x 20 inches
- Large crunchie: Cut a piece of fabric 3.5 x 22 inches
Elastic
You will need a wide elastic with a size of about 1/4 inch.
Cutting instructions
- Small scrunchie: Cut the elastic 8 inches
- Large scrunchie: Cut the elastic 9 inches
Once you’ve made your first test scrunchie, you may find that it may be necessary to adjust the lengths of the elastic on your next scrunchie. This will ensure that you have the right fit for the number of times you want to twist it around your ponytail.
Hair varies dramatically from one person to the next in terms of texture and thickness. Also, some people wear their scrunchie around their wrist. Hence, you may also want to measure that and simply add 1/2 inch for the knot or overlap. If you want it to wrap it twice around your wrist then just double the measurement and add overlap.
Step-By-Step Instructions On How To Make A Scrunchie
Step 1: Fold Over One End
If your fabric frays, then press over one of the short ends by 1/2 inch on the wrong side. For Lycra scrunchies or fabric that doesn’t fray such as knits, you can skip to the next step.
Step 2: Stitch
With the right sides together, fold your fabric lengthwise matching the raw edges. Then, stitch along the edge with a 1/4 inch seam allowance. Make sure to leave both ends open.
Machine Stitching
With your sewing machine, apply a small straight stitch with a length of 2.0.
It is also possible to make a scrunchie if you don’t have a sewing machine.
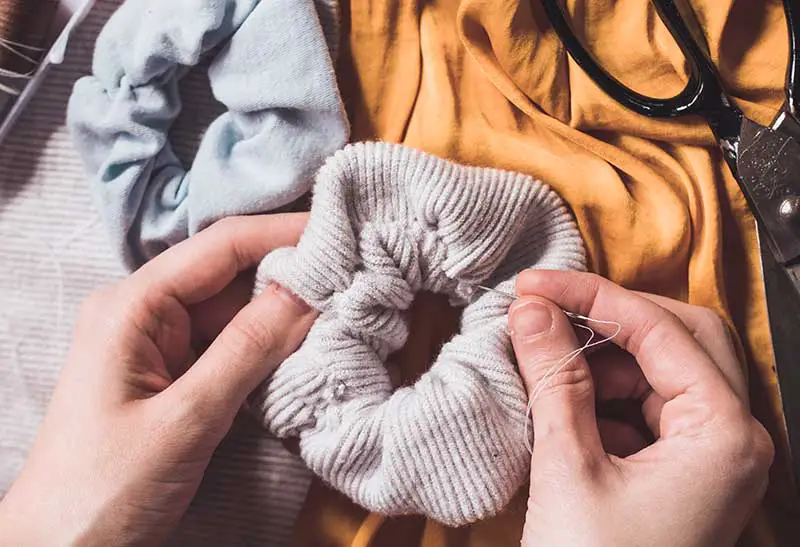
Hand stitching
Sew the seam with a hand stitch such as a running stitch or backstitch.
Backstitch is the strongest hand stitch. However, it does take a little longer, and running stitch is the easiest if you’re an absolute beginner sewer.
Whichever hand stitch you choose, make sure that you are making small stitches so they will hold the elastic without splitting.
Step 3: Turn The Tube Right Way Out
Now turn your tube with the right side out. The easiest way to do this is to attach a safety pin to one end and then thread it back through the middle.
For this step, you need a small to a medium-sized safety pin. Using a large pin is not advisable since it will not be able to turn back on itself.
Step 4: Press
Give your scrunchie a good press if you’re using a cotton fabric. For Lycra fabrics, simply try to flatten it out with your fingers.
Ensure that the seam is on one side of the tube so it is not easily visible.
Step 5: Thread The Elastic
Next, attach the safety pin to the elastic and thread it through the tube. Make sure to pin the first end so it doesn’t pull all the way through by mistake.
At this point, your fabric will gather on top of the elastic.
Step 6: Stitch The Elastic
Overlap the ends of the elastic by at least 1/2 inch. Then, stitch them together.
If you are in a bit of a hurry you could simply tie the ends in a knot rather than stitching it. But be sure to pull it tight so it won’t come undone.
Step 7: Final Stitch Of The Ends
Pull the elastic around to hide the join. Next, feed the raw edge of the tube into the pressed edge.
If you used Lycra fabric for your homemade scrunchie and don’t have a pressed edge, then you can just put one end into the other. Overlap it by 1/2″ to hide the inside raw edge.
Machine Stitching
Stitch the gap closed over all the layers. Use a backstitch so that it doesn’t come undone. This will catch in the elastic and keep it nice and secure.
If you use a matching thread, you will not notice this stitching as it will be hidden in the folds of fabric.
