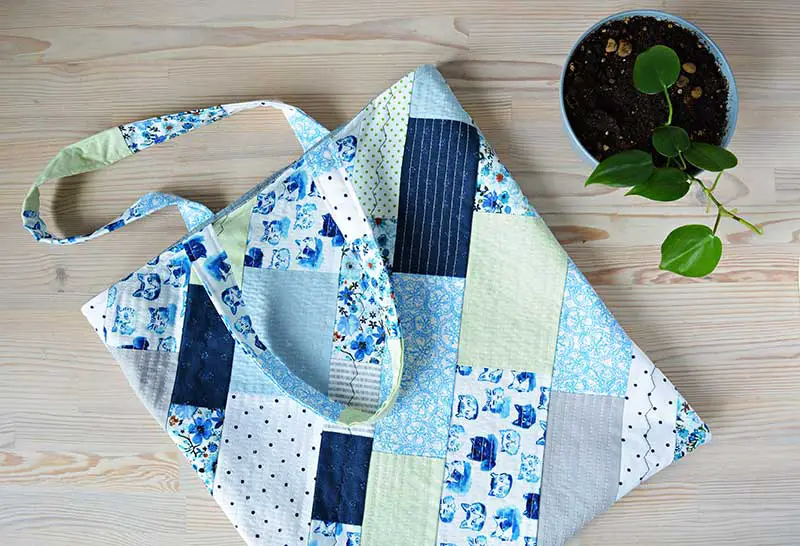
Are you looking for an easy and quick sewing project? This tutorial on how to sew a bag is fast and will turn out great. The instructions are very easy to follow and you’ll love how cute it looks once you’re done.
All women love a good bag that they can fill with just about anything, from everyday essentials to diapers and toys. Fortunately, you don’t have to shell out your budget to get yourself a new bag. You can make a simple one at home using your favorite piece of fabric and basic sewing skills.
Table of Contents
- 1 How To Sew A One-Piece Fabric Bag
- 1.1 Step 1: Choose a fabric
- 1.2 Step 2: Decide on the size of your bag
- 1.3 Step 3: Cut out your fabric to size
- 1.4 Step 4: Fold the fabric in half with the wrong side facing out
- 1.5 Step 5: Stitch up the two sides of the fabric piece
- 1.6 Step 6: Turn the unstitched edge
- 1.7 Step 7: Turn the bag inside out
- 1.8 Step 8: Add the handles
- 2 How To Sew A Two-Piece Fabric Bag
How To Sew A One-Piece Fabric Bag
Step 1: Choose a fabric
When it comes to fabric, choose something strong enough to carry the items you plan to put inside your bag. Also, it should a type of fabric that you can use daily. A flimsier fabric will require a lining fabric, will add a little complexity in making your bag. Therefore, only do this if it’s truly necessary.
Step 2: Decide on the size of your bag
Once you have determined the size you want, double this measurement. Then, draw it onto the piece of fabric you’re going to use with a fabric marker. The shape should be either a rectangle or a square.
Step 3: Cut out your fabric to size
If you’ll also use a lining, you’ll want to cut this out at the same time.
Step 4: Fold the fabric in half with the wrong side facing out
This fold is going to be the base of your homemade bag. And now you’re ready to stitch your bag together.
If using a lining, place it on the fabric’s wrong side before folding. Pin in place, then stitch it all the way around onto the fabric. Next, fold the entire piece with the lining side facing outward.
Step 5: Stitch up the two sides of the fabric piece
Stitch from the base end of your bag to the end of each side. Leave the top portion unstitched, which will serve as the opening.
Step 6: Turn the unstitched edge
Turn it at about 1/2 inch or 1 cm. Stitch this folded edge in place neatly. Make sure not to catch the other side of the bag so that its opening stays open. This folded part forms a neat and more durable edge for your bag.
Step 7: Turn the bag inside out
By now, you have the base section of the bag. The next thing you want to do is to add handles.
Step 8: Add the handles
If you want to keep things simple, consider attaching only one strap. Then, decide your preferred strap length. Keep in mind that once it’s over your shoulder, the length will be halved.
Cut out a strip of the same fabric to the measurement you’ve made. The width of this should be approximately 4 inches. If you will use a lining on the strap, cut the lining to the same measurement. Next, stitch or glue it to the wrong side of the strap fabric before continuing with the next step.
Fold the bag strap piece in half with the right side facing out and stitch the joined section together. Stitch one end of the strap to one end of the bag’s opening.
Repeat for the other end of the strap, on the opposite side of the bag. Don’t forget to remove any thread or excess pieces of fabric.
Now you’re simple bag is done!
How To Sew A Two-Piece Fabric Bag

Step 1: Prepare the pieces you need for the bag
For this project, you will need about 1 yard of fabric, folded and cut as follows:
- Fold the fabric for your bag in half
- Determine the length you want your DIY bag to have. Then, cut the fabric to this length, ensuring that the two folded pieces have the same length. Place these aside
- Using the remaining material, unfold it and cut four strips out with equal length and width to form the straps. The length of the straps is up to you, just remember that the length will be halved when worn over your shoulder.
Step 2: Fold one of the bag pieces
Fold the other bag piece with the wrong sides facing together. Sew the right and left sides of the two bag fabric pieces together.
Do not sew the opening of your bag.
Step 3: Turn the bag pieces inside out
Fold the fabric over 1 inch from around the rim so that the fold is on the outside. Next, sew at the very bottom of the fold and turn your homemade bag right side out.
Step 4: Cut another piece of fabric
For a standard-sized bag, this should be roughly 2 inches tall. You may adjust the height as required.
Wrap this cut piece all the way around the top part of the bag and pin it in place Then, sew along the very top of the piece, including the bag in your stitches. Next, sew the bottom of the piece in the same way.
Step 5: Add the straps
Place the strap pieces of your bag with the wrong sides facing together and sew the left and right sides together. Then, turn the bag inside out and sew one side of the strap to the left end of half of the bag and sew the other side to the right end of the bag.
Repeat on the other half of the bag. When you sew the straps on, place them a little lower. Doing this means you will be sewing the bottom on each base of the strap and the top, which is where your bag stops meeting the strap.
Your very simple yet cute and fashionable carry bag is complete. You can use this when going to the mall or when you’re out with your friends.
Learning how to sew a bag should not intimidate you. While making a strap can be as easy as grabbing some webbing and stitching it to the bag, you can also make your own, pretty strap. For one, adjustable bag straps are much better than the regular ones.