
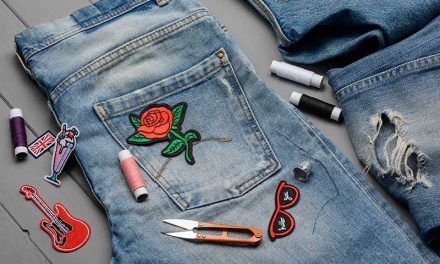
Is it ever worth it to sew by hand? These days, sewing machines are easily available, but we don’t always have one on hand. Sewing by hand is a great skill to know. It will let you solve fashion emergencies wherever you are.
Hand sewing is also quite easy to do once you get the hang of it. It’s great for adding small patches to your garments and repairing all sorts of clothes. If you don’t have a sewing machine on hand, you can also easily repair ripped seams, make tucks in loose clothing, and even hem overlong pants by hand sewing.
Never tried hand sewing before? Not to worry, we will give you a quick introduction. Below are the basics you need to know in order to hand sew like a pro.
Table of Contents
What You’ll Need
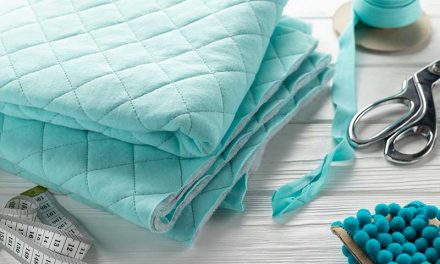
To start hand sewing, you really only need the basics:
- Hand sewing needle
- Thread
- Scissors
However, there are a few optional items that can make the experience easier:
- Needle threader
- Thimble
When it comes to hand sewing needles, a larger needle size number means a thinner needle. For thin, delicate fabrics you’ll want to use a thinner needle, while for bulky and heavy fabrics you’ll want a thicker and stronger needle. If you are just starting out, it’s good to start with medium size, as the smallest hand sewing needles can be difficult to handle. Choose a hand-sewing thread that matches the size of your needle.
Threading the needle is possible without a needle threader, but it can be frustrating trying to get the thread through the tiny hole. Having a needle threader helps. A thimble is generally needed only with heavier fabrics like denim. However, if you find yourself pricking your thumb with the needle all the time, a thimble can save you a lot of pain.
Before You Start
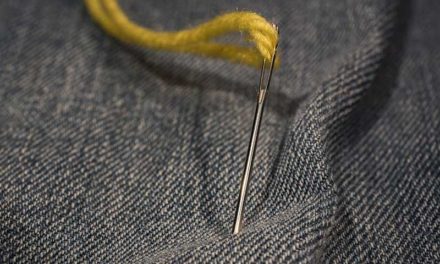
No matter what stitch or technique you’ll want to use, you will generally start the same way. The first step is always to thread the needle. To do this, you simply need to get the thread through the little hole at the top of the needle. To make this easier, make sure to cut the tip of the thread off with sharp scissors. Cut at a 45-degree angle to prevent the thread from fraying (this makes things very difficult). If you have a needle threader, use that.
You’ll also want to cut the thread before you start. The length of thread you will need depends on your project, but we recommend not making the piece longer than 50 centimeters, especially if it’s your first-time hand sewing. When the thread is too long, it gets tangled and/or breaks much more easily while you are working.
With most hand sewing techniques, you’ll need to tie a knot at the end of your thread. This knot anchors your thread and makes the seam stay in place. There are a couple of methods to make this knot, but the most common one is done using your fingers.
What you’ll want to do is make a couple of loops (2 or 3) with the thread around your index finger (start by holding the end of the thread on your index finger by your thumb). Then, use your thumb to push the loops towards the tip of your index finger. The loops will tangle with each other, and that’s exactly what we want. Bring the loops off your index finger and pull the thread to tighten the knot.
This sounds complicated when explained, but it comes with practice. Try it out a couple of times and you’ll quickly get what we are talking about.
Basic Hand Sewing Techniques To Try Out
Basting With Running Stitch
One of the most common uses of hand sewing is for basting. Coincidentally, running stitches commonly used for basting are definitely the easiest to do.
There is really not much to it. Start with a thread with a knot tied at the end, as described above. Push the needle through the fabric, from any side, and pull the thread through until you feel the thread stopping you. Now, you just want to push the needle from back to front, skip a small distance, then push to the other side.
You can have your running stitches as close or as far from each other as you’d like. If you are using them for basting, you’ll remove the thread later, so your stitches don’t even have to be uniform. A great place to start!
Backstitch
The backstitch is usually the first “real” hand sewing stitch thought to beginners. The result is a pretty-looking stitch that runs in a straight line. However, the backstitch is stronger than it looks.
Here is how it’s done:
First of all, insert the needle into the fabric, from the back to the front with a knot tied at the end of your thread. Bring the needle back through the fabric (now it’s coming out at the back) at a small distance from where you started – this will be the length of your stitch. Now do the same on the backside. At this point, instead of moving forward (like with a running stitch), you’ll want to bring the needle back and insert it at the same point where your last stitch ended. Keep repeating this pattern until the end.
A backstitch is a great stitch for sewing ripped seams and adding zippers and patches to garments. In addition to this, it is a decorative stitch and you can already do basic embroidery when you learn this one.
Final Thoughts
The two basic stitches with talk about above are just the tip of the iceberg. Hand sewing is great for any small project. Once you get the hang of it, you probably won’t bother taking out the sewing machine for small projects like fixing a ripped seam.
