The first sewing machine was invented in 1790, but it wasn’t until the middle of the 19th century that this practical tool became widely used. While the sewing machine can speed up your project, it doesn’t mean you can’t sew without it. Here are a few tips and tricks that will help you master the art of hand sewing in no time.
Table of Contents
Hand Sewing Tools
The first thing you’ll need is a needle. Like machine needles, hand sewing needles come in a variety of shapes and sizes. Depending on the fabric you’re working on, you can choose between sharps, ballpoint, embroidery, quilting needles, etc. When it comes to sizing, unlike machine needles, the larger the number indicates the smaller the needle.
The next thing you’ll need is a thread. For most sewing projects, polyester or the all-purpose thread will work just fine. To cut it, you’ll need shears. They should always be sharp, or you’ll end up in frayed thread or fabrics.
A seam ripper is not a necessity but can come in handy if you want to undo your seam. Finally, a thimble can be useful. While some people struggle to use ti, others can sew without it. It’s a matter of personal preference.
Threading The Needle
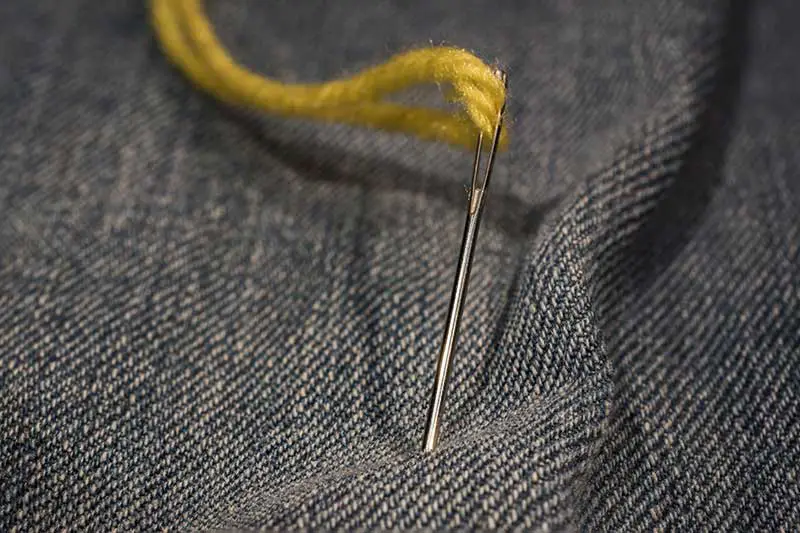
Passing one end of the thread through the needle eye is easier said than done. You don’t have to be a rocket scientist, but you need to have eagle vision and steady hands. Here’s how to do it.
Take your bobbin and unwind as much thread as you might need for your sewing project. With sharp shears, cut the thread at 45 degrees angle. That way, shears won’t fray the thread. To make needle threading an even easier task, some sewists damp the end of the thread before passing it through the needle eye. Besides licking it, you can also use beeswax to further stiffen the thread.
Not a lot of people can brag about being able to thread the needle like it’s a piece of cake. Most of us don’t have steady hands, so even the preparation for hand sewing can be nerve-wracking. Luckily, there’s a simple little tool that can help you deal with this nightmare. A needle threader, as the name suggests, does what you can’t do, in a few steps.
First, push the wired loop through the needle eye. While holding both the needle and the threader in one hand, take the thread with another and push it through the loop. You’ll want to push at least 5 inches of thread, to make sure it doesn’t come out as you remove your “little helper.” Pull the threader back through the eye, and that’s it.
Now you need to knot the ends of the thread. Hold them between your pointer finger and thumb, and wrap the thread around the pointer a couple of times. Use your thumb to slide those loops towards the tip of your finger. Tighten the knot, and you’re done.
Hand Sewing Stitches
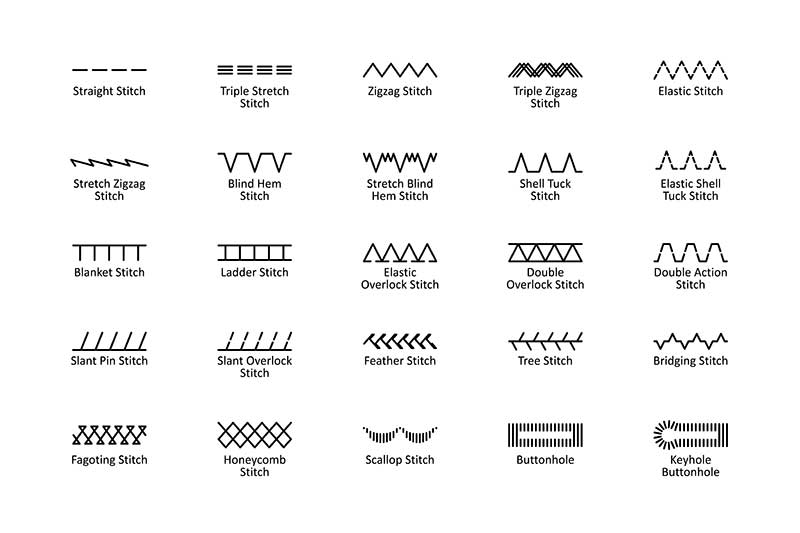
Backstitch
This is a classic hand embroidery stitch. It’s sturdy, which makes it great for ripped seams and patch sewing. Each stitch is made backward to the direction of sewing, so you’re left with what looks like a continuous thread line.
Running Stitch
This is another basic hand sewing stitch everyone should know. Basically, you’re passing the needle in and out of the fabric at a certain predetermined distance. This type of stitch is done for basic seams and hems. It’s also often used as a basting stitch, which means it temporarily holds the fabrics in place while you’re stitching them with a more complicated stitch.
Ladder Stitch
This type of stitch is commonly used to invisibly close seams from the outer part of the garment. It’s ideal for fixing rips on stuffed items like pillows or toys, where you can’t access the backside of the fabric.
Blanket Stitch
Asides from being a decorative stitch, a blanket stitch is used for reinforcing the edges of thick fabrics. It keeps them together while also preventing fabric fraying. It’s often used for blankets and pillows, but it’s not uncommon to see it on garments either.
Whipstitch
As a blanket stitch’s cousin, whipstitch is also used for finishing edges. Besides being functional, it can also be used as a decorative stitch. It’s used for applique making, jeans hemming and applying patches.
Catch Stitch
A catch stitch is a great hemming stitch that’s all about business in the front, party in the back. What this means is that it’s a low profile from the outside of the garment, while the crisscrossed thread at the back is to be thanked for the freedom of movement when wearing the garment. It’s great for seaming fabrics that overlap a bit.
Zigzag Stitch
Finally, let’s not forget this simple stitch. It’s ideal for finishing seams, decorative stitching and sewing stretchy fabrics.
Sewing Buttons
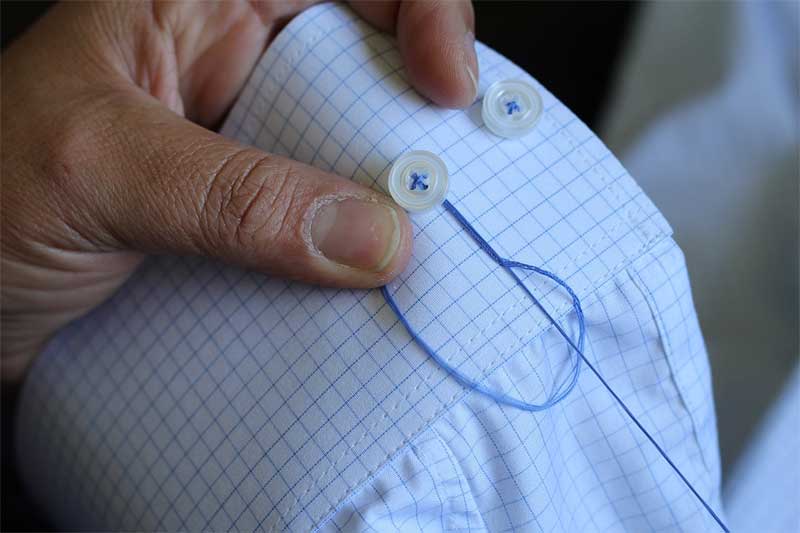
Sewing machines are great at making your job faster, but they aren’t omnipotent. While certain models can sew buttons, that’s something that’s way easier done by hand. Let’s see how’s that done.
There’s a lot of pressure on the buttons when the garment is worn, so they need to be sturdy. Use either a button or carpet thread, as these are strong enough to hold the button in place. Imagine wearing tight jeans after eating three cheeseburgers. Well, with these threads, your button won’t pop when you sit down.
Shank buttons actually have to be sewn by hand. To do so, first, you need to make a couple of anchoring stitches without the button itself. Then, sew up to ten more stitches through the shank of the button.
When sewing a flat button, start by placing it onto the desired location on the garment. On the right side, put your needle down through the fabric and come up through it and the button. Then, go back through the one on the opposite side. Basically, you’re sewing it in a crisscross direction. Do this a couple of times. Finally, bring the needle up to the top but not through the buttonhole. Pass it to the side and knot it off several times.
Conclusion
Hand sewing doesn’t require special talent or tools. The only things you need are patience and practice. And the final product is well worth that.
