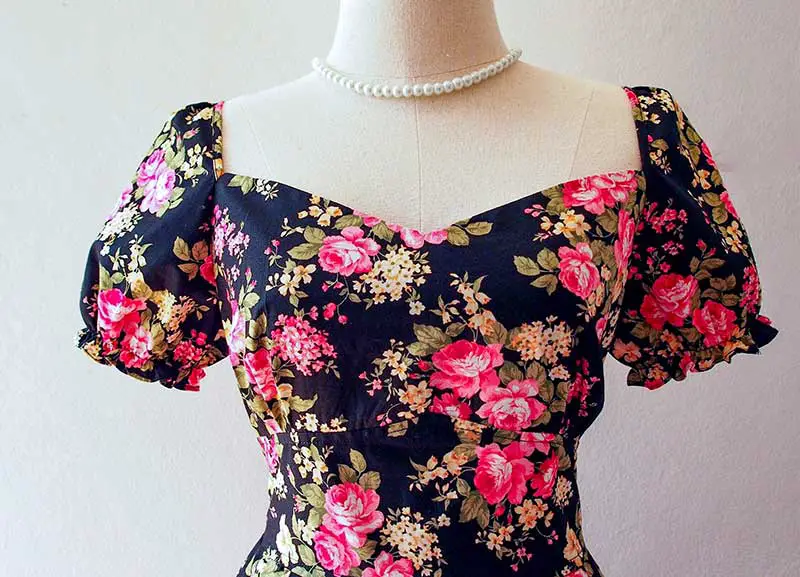
Bodices are worn on the top half of women. They can be tight-fitting or loose, have sleeves or not, and they could also be part of a dress. They are more complicated to make than say a skirt because so many different measurements have to be taken. In this article, we will be taking a look at how to sew your own bodice.
Table of Contents
Taking Measurements
More than likely, you will buy a pattern to use in the making of your bodice. However, because the measurements for bodices are so precise, it is a good idea to take your measurements and adjust the pattern where needed. Here is a list of the measurements you should take:
- Waist measurement. This is often the narrowest part of the top half of your body. Wrap the tape measure around your waist making sure that the tape remains level all the way around and is horizontal from the floor. Don’t suck your stomach in otherwise you may not get a comfortable fit.
- Bust measurement. Find the fullest part of your bust and take a horizontal measurement from there.
- Armscye depth. Measure from the nape of your neck down to where there is an imaginary horizontal line across your back at the bottom of your armhole.
- Nape of neck to the bustline.
- Neck circumference. Measure around the base of your neck, making sure it isn’t too tight.
- Shoulder length. Measure between the peak of your shoulder and the base of your neck.
- Back width. This is the horizontal measurement of your back from the bottom of one armhole to the other.
- Shoulder to bust measurement. Hole the tape measure in the middle of your shoulder and measure down to the bust.
- Bust point to point. This helps if you are putting in darts.
Of course, for a lot of these measurements, it is much better if you have somebody to help you.
Cut the Pattern and Sew the Darts
Once you have your pattern all ready to go, it is time to cut it out. Then the first thing to tackle is the darts. It is important to mark the beginning, middle, and end of the dart as even an eighth of an inch can stop the bodice from fitting properly. Do this on the wrong side of the material. When you have done this, measure both darts to make sure that they have exactly the same measurements. It is a good idea to take this slowly as they are such an integral part of the bodice.
It is a good idea not to back tack the beginnings and ends of the darts, but to leave the long threads until you have sewn the shoulders. Try the bodice on with the bra you intend to wear with the bodice and see if the darts are right. If so, tie the ends into knots. Otherwise, make the adjustments.
The Lining
Quite often when you are making a bodice, you will decide to put in a lining. Cut out the same pattern onto the lining and then make sure that the darts match the outside material. Once you have done this, sew the darts into the lining. Again try the bodice on and if the material and lining match, you are good to go onto the next step.
Facings
If you aren’t putting in a lining, you may want to put in facings for the neck and arms. Once you have made the facings, iron them onto the fabric. They need to be the same length as the armholes and the neck. After you have ironed them, baste or tack them into the bodice as this helps to reduce puckering. With the material wrong way round, turn the raw edge of the material underneath the facing. Hem a curved edge, making folds as you go along. Use a close seam length to ensure a tight connection. When you have done this, try the bodice on again to ensure that it fits well.
Sleeves and Side Seams
You can get bodices that come without sleeves, but of course, many do have sleeves. Sleeves can be sewn into the armholes before you sew the seams. In fact, it is easier to do it this way. As an example, consider sleeves that are gathered at the top. First, gather the sleeves using double seam stitching and pull the thread evenly to make sure that the gathers fit in the markings. Sew the top of the sleeve to the bodice and then hem the bottom of the sleeve. The next step is to start sewing at the bottom of the sleeve up to the armhole. Then turn towards the side seam of the bodice and sew down it. Doing it in this way can help to save time.
Attaching the Bodice to a Lower Portion
You might not just be making a blouse or sleeveless bodice, but you could want to attach it to a lower part like a skirt, dress, or even trousers. You will need to have a perfect waist so take care that the gathering is as perfectly done as the sleeves. You don’t want to have puckering. The gathers at the waist need to be done evenly. It’s a good idea to tack or baste the waistline before you sew it properly and try it on to make sure that it fits perfectly.
Finishing Touches
There will still be finishing touches to add to your bodice, such as a hem at the waist, buttons, and hooks and eyes. The time to do this is when you have sewn the garment together. You may want buttons on the back of the bodice, but if it is a blouse, you will probably want them in the front.
Conclusion
As can be seen, a bodice is more difficult to sew than a simple skirt, but it is well worth the trouble. Once you have sewn your first couple of bodices, you should be experienced enough to tackle them with ease.
