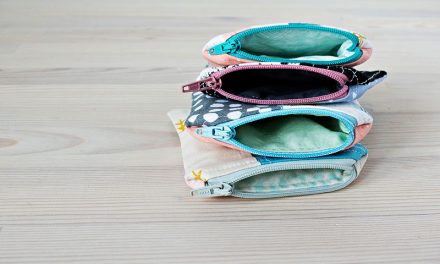
Perhaps you’ve never sewn with bias tape. Maybe you’re not sure exactly what it is. In this article, we will tell you how to sew with it and show what a benefit it can be.
Table of Contents
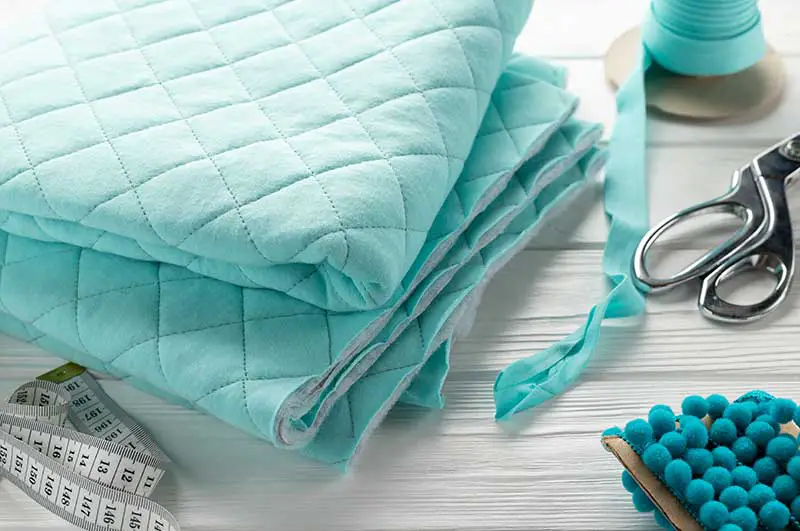
What is Bias Tape?
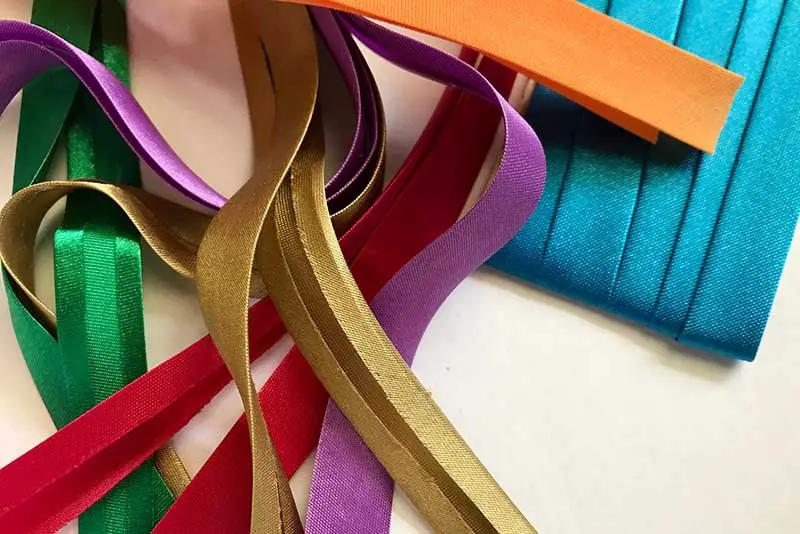
So what is bias tape? To tell it simply, it is a narrow strip of material cut on the bias. This means that it has been cut at a 45-degree angle and then folded and pressed. Because it is cut at this angle, it is more stretchy and fluid than material that is cut on the grain. You can literally wrap bias tape around any piece of fabric, whatever the shape.
The back of the tape is slightly wider than the front. This means that when you sew the tape from the front, you will be catching the wider side instead of going right through the material which would look unsightly.
You can just wrap bias tape around any edge, but it is better to baste the material first. So, what are basting stitches? They are long and removable stitches, and another name for this procedure is tacking. These stitches will hold the seam in place until you can sew the material permanently If you don’t tack the bias onto the fabric, there is every chance that you will miss stitches on the back as you sew from the front.
We are going to show you two different ways to sew bias tape on your material.
Method 1; Straight Edge Applications
This is the easiest method and it is used when you just want to put bias tape on a straight edge of your fabric. You don’t have to worry about going around corners and joining the two ends of the bias tape.
- Put the piece of fabric on a flat work surface making sure that the wrong side of the fabric is facing upwards. Measure the bias tape against the material. It needs to be exactly the same length. Cut this piece of tape.
- The bias tape has a wider side and you need to put this on the back of the material with the other side on top. Make sure it is exactly on the raw edge of the fabric. Pin the tape to the material.
- Then it’s time to sew, but first, back tack the beginning before you sew along the crease of the tape. Remove the pins as you sew. When you get to the end of the tape, back rack again to secure the tape to the fabric. For this row of stitches, you need thread similar to the color of the fabric. It is not important at this stage to have the thread similar in color to the bias tape, but you will have to later.
- The next step is to fold the bias tape over the raw edge so that one side is now on the outside of the material. Put pins in to hold it in place and make sure that the edge of the tape covers the previous stitches. The tape needs to be flat and taut, but don’t pull it too hard because it can cause the material to pucker once sewn.
- Now is the time that you need to get thread the same or almost the same color as the bias tape. Sew close to the front edge of the tape and remove the pins as you go. Again, back tack at the beginning of the tape and again at the end. Remember to sew through the other side of the bias tape so that it is secure. It would be uncomfortable to wear an item of clothing where the bias tape wasn’t secure on both sides.
Method 2: Bias Tape with Adjoining Edges Overlapping the Ends of the Tape
This method can be used to sew around corners.
- To start with, turn the material over to the wrong side, and as with the other method, place the wide side below the other side. Put in pins on the wide side to secure the bias tape in place. Where the two ends of the tape meet, you should leave three inches of overlap. This will enable you to stretch the bias tape around corners.
- Pinch the overlapped edges together so that the joined tape is the length of the edge of the fabric. Put a mark where the joined edges meet. Water-soluble ink is the best for doing this as you don’t want to have a mark on your fabric. Pin the ends together.
- You need a seam that is ¼ inch wide. Measure at different points of the bias tape to make sure it is all the same width You should sew along this line with thread that is close in color to the bias tape. If you can get the same color, all the better.
- Turn the narrower side of the bias tape over the raw edge of the material as in the first method and stitch close to the front edge of the bias tape.
Sewing Around Curved Edges
This is a little more difficult than sewing in a straight line which isn’t surprising. However, if you baste or tack the bias tape before you start sewing, you should get excellent results. As you topstitch, you can leave out sewing portions of the back of the bias tape. The back of the bias tape will still be anchored as most of it will be stitched.
Conclusion
Working with bias tape can be a little tricky so it is best to start with sewing along a straight line before you tackle corners. However, it’s not difficult for those with an aptitude for sewing. Bias tape can brighten up an item of clothing or even a blanket. Perhaps you like to make your own jewelry boxes or tissue boxes, covering them with material. Bias tape will make them stand out. So have fun sewing with bias tape and see what effect you can produce.