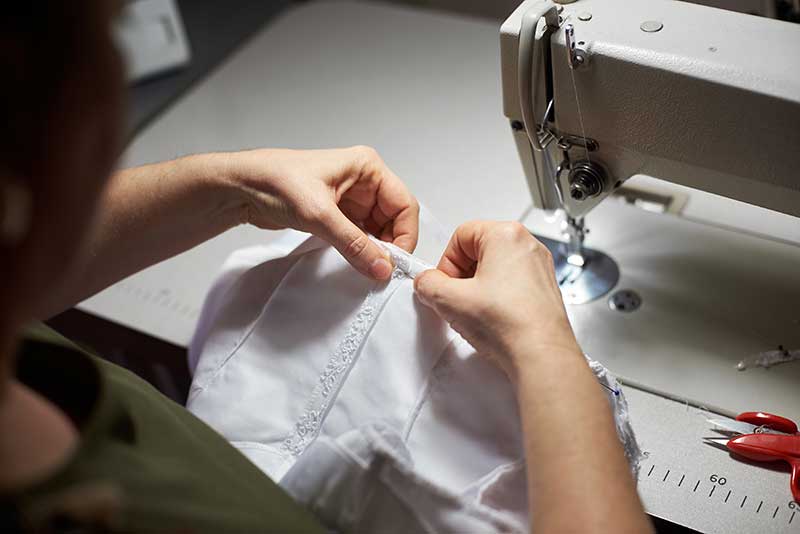
Darts are a little complicated to sew and they should be sewn slowly if you want to blend them into the outfit. They will give a three-dimensional shape to garments that would otherwise look lopsided. If sewn properly, they can show off a figure to the best advantage.
You usually find darts in the bust area and also around the waist on skirts and pants, and even at the back of a garment. They can also be used when sewing a bag or purse. Darts are placed in the corners of bags which means that the bag won’t be flat and will have some depth.
Depending on how fitted you want the garment to be, darts can vary in depth. If you want tight garments, you will need long and deep darts. For a less fitted look use shorter darts. Darts are also useful in stretchy fabric as they give shape to the body.
Most darts are straight. If you are sewing a bust dart they can either be horizontal or diagonal. Some patterns however do call for a curved dart which is a little more difficult to sew as you have to stop it from bunching up. Otherwise, it is similar to sewing a single dart.
In this article, we will be taking a look at how to sew both single darts and double darts.
Table of Contents
Sewing a Single Dart
Transfer the Dart Markings From the Pattern
Put your pattern on top of the fabric and cut it apart on one side of the dart. Then mark out the dart on the fabric with tailor’s chalk or a removable pen. Pin where you want the dart to go, the two legs joining at a point.
Mark a line in the center of the dart and then fold the dart in half with the fabric right sides together. This means that you are sewing on the back of the material. Pin the middle line in place. Vertical pins are the best to use in this instance. Place the last pin at the pointed end of the dart. This will be a guide while you are sewing.
Sewing the Darts
You will need to sew from the outside inwards towards the point of the dart. Use a stitch length of one inch until you get to one inch away from the end. Then change the stitch length to about ½ inch to stop the dart from puckering.
It is best not to backstitch to keep the stitches secure as this can also cause puckering. Instead, tie a knot at both the beginning and the end of sewing. Be careful not to pull too tightly otherwise the dart could look unsightly. You want it to be smooth and unobtrusive.
Clipping Deep Darts
Deep darts generally need to be clipped while shallow ones don’t. This is because deep darts usually have extra fabric which needs to be trimmed. If it isn’t it could produce an unnecessary bulge in the garment. If you do need to clip the fabric you may have to sew up the raw edges to stop them from fraying. This will make them neater but these stitches could be seen on the right side of the garment. Perhaps use an invisible thread to avoid this.
If you are sewing a bag or a purse you will inevitably be using stronger materials like leather or plastic, so you will need to clip the extra fabric. However, you won’t need to finish any raw edges as you will probably be adding a lining to the bag that will cover up any edges or knotted thread.
Finishing Off the Darts
The final thing to do when you are sewing darts is to press them into place. It is not, however, that straightforward as they can be pressed in different directions. Vertical darts that are usually found on pants and skirts should be pressed towards the center, while horizontal darts that are usually found in the bust area are generally pressed downwards. For bags and purses, press the darts towards the middle. A tailor’s ham, which is a pressing tool, can be useful when pressing darts.
Double Darts and Diamond Darts
You often find double and diamond-shaped darts close to the waist of dresses, both at the front and at the back. You could also find them on pants and skirts. Diamond darts are exactly what they say. They are diamond-shaped and they give an attractive shape to dresses.
It isn’t much more difficult to sew these types of darts. It is similar to sewing single darts with a couple of extra steps.
Mark the Dart
Mark the dart down the middle on the wrong side of the fabric. You will see the difference here as there is a point at either end of the dart. Use tailor’s chalk to do this or it can also be done with dressmaker’s carbon and a tracing wheel.
Fold the dart down the middle as before and pin the dart in place with vertical pins. These will secure the dart in place. So that you have an easy reference, put a pin at each point of the dart.
Sewing the Dart
You have marked the middle of the dart so now you have to start sewing from the middle of this towards the first point. Use a stitch length of one to 1 ¼ inch. As you stitch, remove the pins. As before, change to a ½ inch stitch for the last inch. Don’t backstitch at the beginning or end, but tie a loose knot. You don’t want it to pull.
Once you have done this, do the same for the other point. You may need to cut through the center of the dart otherwise it might pull.
Conclusion
Sewing darts can be a little fiddly and can take a bit of time to master, but it is worth it in the end to have perfectly fitted garments.

