
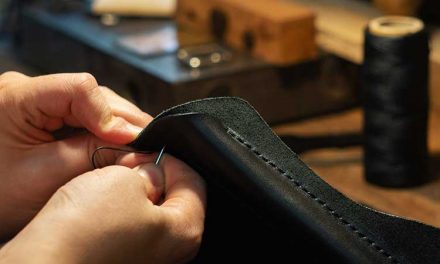
Whether it’s done on pillows, bags, hats or garments, piping gives a pop of color to every sewing project in such a fashionable way. Piping is mainly done as a decorative finish, but it also helps with reinforcing the seams. And that’s reason enough to learn to sew piping.
While it might seem difficult at first, piping is something every sewist can master after a few tries. In this article, we’ll cover everything you need to know, from making piping to sewing it.
Table of Contents
Making Piping From Scratch
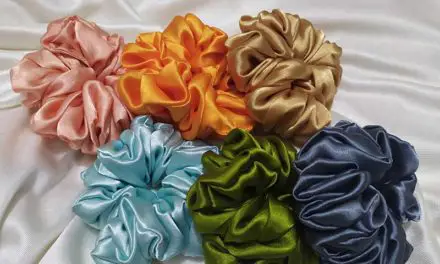
You can buy premade piping in your local shop, although it probably only comes in basic color options. But why should you buy boring neutral piping when you can pick a fabric of any pattern and make your own?
Choosing The Right Machine Foot
As the name suggests, the piping foot is specially designed to sew, well, piping. The foot has a deep groove, so the cord doesn’t get in the way when you’re stitching. While it makes your job easier, this foot is by no means a must-have tool for making piping. In fact, a zipper foot will do just fine. This type of foot allows you to get real close to the piping and stitch along the raised edges.
Tools For The Job
To make your own piping, you’ll need three things: a cord, strips of fabric and a sewing machine.
When creating strips, you need to cut the fabric on the bias. In other words, instead of cutting along the straight line of the weave, cut it diagonally. This technique gives the fabric a bit more stretch around the corners. If your sewing project doesn’t have any corners, you can go ahead and cut on the straight grain. This way, you’ll save on the material.
If your fabric strip isn’t long enough for the piping you’re making, you can extend it by stitching another strip onto it. If you’ve done your strip with a bias cut, you need to attach the pieces properly. To do this, put two strips together at a 90° angle with the right sides facing. Stitch them diagonally, cut the excess fabric and press the seam open.
To determine how wide fabric strips you need for piping, here’s a simple math formula. Take the width of the cord and add the seam allowance. Then, multiply it by two.
The second thing you need for making piping is the cord. There are specialized piping cords you can buy, or you can just take whatever you have close at hand. Whether it’s made of cotton, foam or paper fiber, doesn’t matter, as long as it looks nice.
Before you start making piping, there’s one often-forgotten step that you should do. Prewash. Yes, both fabric strips and the cord can shrink and should be prewashed before proceeding with your project. Shrunken piping will wrinkle the fabric along the seams, and that doesn’t look good. It’s always better to be safe than sorry.
The Piping Tutorial
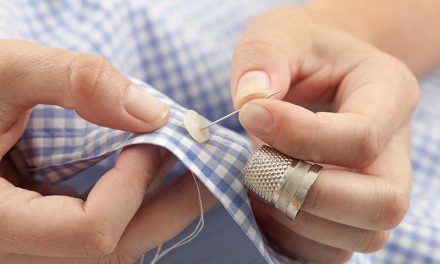
After you pretreated and dried both strips and the cord, let’s get into making piping. Place the cord in the middle of the fabric strip, fold it in half with matching edges and pin it in place. Here, an optional step is to do the baste stitching along the piping edges by hand. This temporarily holds it in place and helps you create tight piping.
Now, let’s put a sewing machine to work. After you’ve attached a zipper or a piping foot, stitch close to the cord. Don’t stitch all the way to the edges of the cord, as it might cause wrinkles around the corners of your project. Plus, we’ll tighten that up when we get into sewing piping onto the project. After you’ve done stitching, remove the basting and you’re done.
How to Sew Piping on a Pillow
As you can see, making your own piping is simple. Sewing it requires a bit more patience and skill, but it’s easily done. First, place the piping along the edges of the fabric you want to sew it with. The right sides should be facing up. Align the edges, pin together and stitch over the stitching on the piping itself.
Now, take another piece of fabric and place it above the piping with the right side down. Once again, match the edges and pin them in place. Turn the piece upside down, so that you can see the first stitches you made, and stitch as close to them as you can. Turn your piece with the right side out, press the seam allowances, and voila… such beautiful piping.
Sewing Around Curves
Sewing piping along the curves can be delicate. Corners can turn out to be wrinkled, but here’s a simple trick to avoid that. As you reach the curved area, clip the seam allowance on the piping before you stitch it. You should also use a somewhat shorter stitch length, as it will help you sew the curves easier.
Overlapping Ends
With cushions and pillows, the two ends of piping inevitably meet at one point. Here’s how you can create the perfect overlap without creating bulk.
Let’s take a step back to when you were making piping for your project. Since you already know that piping will overlap at some point, keep both ends unstitches for about half an inch. If you’ve forgotten to do that, don’t worry. You can rip the stitches later, this is just a time-saving step.
Stitch your piping all the way around your project, until the two ends meet. To avoid confusion, let’s name those endings. You started stitching with the A ending, and now you’re supposed to make the B ending overlap. Take the B ending, cut the excess piping off, leaving only 3/4 inch overlapping. Open the strap, cut the excess cord off. Then, fold it around the A ending, in such a way that both ends meet. Stitch it up, and you’re done!
Conclusion
As you can see, sewing piping is no rocket science. All you need to know is a few tips and tricks, and with a little practice, you can add piping to whatever sewing project you want.