Have you ever had problems trying to find a pair of pants that are just the right length? Sometimes they are just a little too long and at others, they are too short. If so, why not make your own pants. In this article, we will be teaching you how to sew a simple pair of pants with an elastic waistband.
Table of Contents
Preparing to Sew
First, get a pattern, choosing the right size. It is easier to ensure that the pattern fits your waist and hip measurements rather than the length. The length can easily be altered with a little bit of chopping or adding.
Once you have decided on your pattern, choose the fabric. The pattern you have decided on will include tips on the type of material to buy and the amount. You need to find a fabric that is easy to work with like cotton or flannel. Materials that stretch a lot are not the best especially if you are a beginner at sewing. It is more difficult to stop them from moving while sewing. When you are buying the fabric check what the care instructions are. You will need to know what temperature to wash your new pants at or if they should only be dry cleaned.
To sew the pants, you will need approximately 2.5 – 3 yards of fabric, depending on how tall or large you are. You will also need an all-purpose thread in a matching color and ¾ inch wide elastic for the waistband.
It is a good idea to wash your fabric before you start cutting it out. This allows the material to shrink before sewing and it also removes any dyes the material has that might color other items of clothing later on down the line. Of course, wash it separately. Before washing, sew a straight ½ inch stitch away from each edge of the fabric to stop any loose-knit fabric from unraveling. Cotton needs to be washed in warm water and dried on high.
While your fabric is being washed and dried, load your bobbin with the thread, put it on the sewing machine, and thread through the needle. Your fabric may be a little wrinkled after being laundered, so give it a press before cutting.
Cutting the Fabric
Prepare your surface for cutting the fabric and pattern. As scissors or rotary cutters can damage wood, it’s a good idea to put a tablecloth or sheet of cardboard onto the table to protect it.
Each leg needs a back and a front. It’s a good idea to fold the material in half so that you cut out two pieces at the same time. If your pattern is creased, iron it first with a warm iron before cutting. There will be diamonds or triangles on the edge of the pattern. Don’t cut these off as they will be used to match up the trouser legs.
Put the pattern pieces on top of the fabric and pin them together. The pins should be 2 – 3 inches away from each other. Ensure that the pins go through both pieces of material if you have doubled it up.
Now it’s time to cut the pieces. Use either a rotary cutter or a pair of sharp sewing scissors. You can now cut out the diamonds or triangles. When you have finished sewing, remove the pins. You should now have two backs and two fronts, one of each for each leg.
Also, cut the elastic for your waistband. It should be ¾ inch in width. Measure your waist and cut the elastic one inch longer than your waist.
Sewing the Pants
Match up the pattern pieces to the fabric and pin them back together, inside out. You should now have two legs, each with a back and a front. Pin the edges together to make a ½ inch seam. You are best using a sewing gauge to do this as it is more accurate than a ruler.
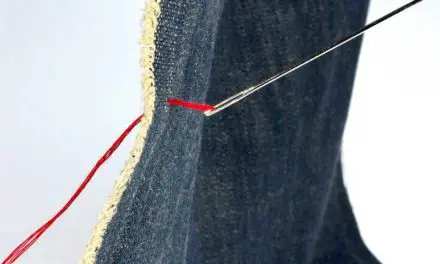
You should now have two matching inside-out fabric tubes. Sew each in turn with a straight stitch. Sew the outer seam first and then the inner. When you have done this, take out the pins and iron the seams. Pressing is important as it ensures that the two legs can be joined together smoothly. In addition, it prevents the fabric from bunching up.
The next step is to sew the two pant legs together. To do this you need to have one leg on the right side out. Then put it in the other pant leg that is still inside out. Pin together the crotch seam which will look like a U shape. Once you have done this, sew the seam with a straight stitch. The seam should be ½ inch wide. To secure the seams you can sew another seam 1/8th inch away from the first row. Press the seam open.
Add the Elastic Waistband
The first thing you need to do is construct a casing for the elastic. At the top of the pants, fold the top down a ¼ inch and then press. Fold down another ¼ inch and press again. Sew all the way around with a 1/8th inch from the bottom of the casing, leaving a gap of 2 inches. This makes room for the elastic to go in.
Attach a safety pin into one end of the elastic and pull it through with this. When you get to the end sew the elastic together using a zig-zag stitch. Before you do this, be sure to check that there are no twists. Then sew the gap in the casing together.
Hem the Pants
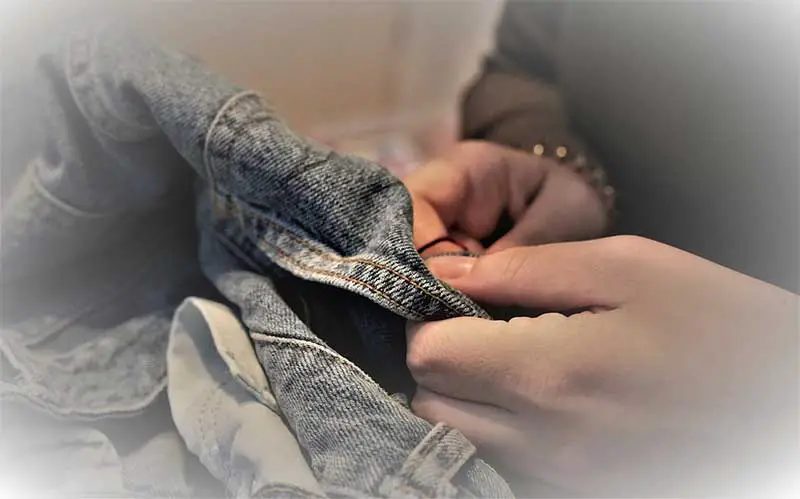
Try on the pants to see what length you want them to be. It is easier if you have somebody with you who can mark the material either with a washable marker or pins. You can trim off some of the material if it’s too long to create a narrow seam.
With the pants inside out, fold down the material ¼ inch and iron. Then fold ¾ inch and press again. Sew ½ inch from the bottom of the pants. Once you’ve done this, you’re all set to go out with your new pants on.
Conclusion
Pants really aren’t too difficult to make. It’s all simple stitching and should take you no more than half a day.
