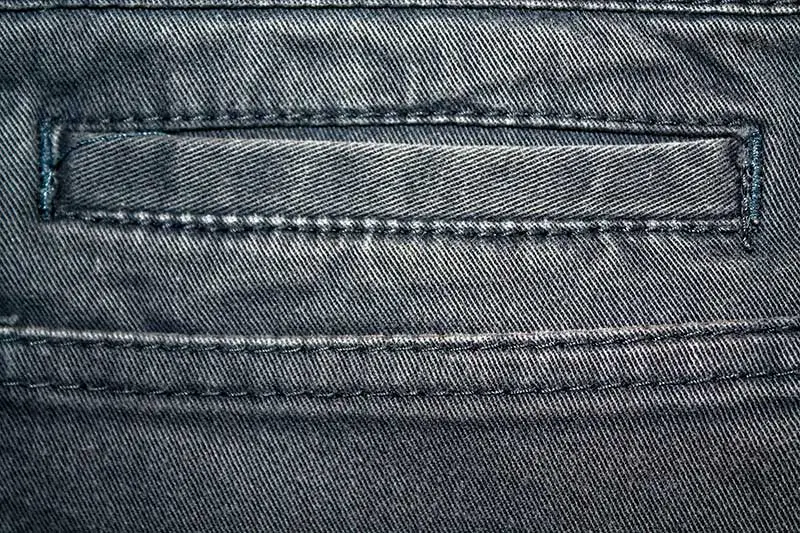
A welt pocket is a tailored, bound pocket usually found on men’s blazers or. It is also known as a bound pocket since it has a fabric binding to neaten the edges of the pocket opening. Often, the welt pocket is used to display the man’s handkerchief on a smart suit. Moreover, the pockets lie flat and are finished with the welt which is the binding applied to the raw edge of the cut pocket.
Before you learn how to sew a welt pocket, it is necessary to understand its construction. The pocket part of the welt pocket is attached to the inside of the garment and the welt is the binding seen on the outside.
This sewing project is much easier to complete than you may think as long as you follow certain steps. The key here is to take it step-by-step and follow the tutorial we have below. Although this version of how to make welt pockets is simplified, you will achieve amazing results every time.
Table of Contents
Instructions On How To Sew A Welt Pocket
Step 1: Cut The Parts
Follow the instructions of your pattern and get all the pattern pieces for the pocket ready. This will include the pocket bag, which is the part that makes the actual pocket, welt pocket piece, and interfacing.
How to make a welt pattern
If your pattern does not come with a welt pocket, here is some information to help you draft your own. These instructions are for a 6-inch (15cm) pocket with a 1-inch (2.5cm) welt.
- Interfacing. Cut the interfacing at 2 inches wide by 8 inches long. The interfacing should be 2 inches longer than your finished pocket.
- Pocket Pouch. Cut 2 pieces of fabric at 8 by 8 inches. The pouch should be at least 2 inches wider than the finished pocket. Meanwhile, the finished height will be about 3 inches shorter than your cut. One of these pocket pouch pieces will show on the outside so you may want it to match your garment.
Step 2: Transfer Markings
Transfer the pocket markings onto the front of your garment. Then, make a marking on both the front and back of your garment.
If you made your own pattern, draw 2 6-inc parallel lines on both pieces of the interfacing at 1 inch apart. You can make the lines closer if you want to create a narrower pocket.
Step 3: Interfacing
Fuse the interfacing in the desired position on the wrong side of the garment. Then, fuse the interfacing on the wrong side of one of the pouch pieces. Make sure to leave a 1 1/2 inch gap at the top. This is the piece of fabric that will show on the outside.
Step 4: Stitch The Welt
Pin the pouch to the front of the garment with the right sides together. Match the dots you marked as the placement markings. The lines on the interfacing should match up.
The simplest way to check this is to put a pin through each end and make sure everything is aligned.
Machine stitch the top and bottom marked lines only, stopping exactly at the marked dots. Finish securely with a backstitch.
Step 5: Cut The Welt
Draw a triangle at both ends and a line through the center. The triangle should finish approximately 1/2 inch from the end of the stitching. Next, cut a slit through both layers of fabric between the two stitching lines of the welt.
Use a rotary cutter for a clean cut if you have one. If it’s not available, use small sharp scissors to cut a Y shape into the corners at both ends of the slit. Do not cut into the actual stitching.
Press the cut seam allowance open at the top and the bottom of the welt. Then, press all the way to the ends of the cut Y shape.
Step 6: Turn And Press
Turn your garment to the wrong side. And then, reach through the opening to pull the pouch rectangle through the garment to the wrong side.
Afterward, press the rectangle flat and gently pull the corners of the welt fabric until it creates a rectangular opening. Make sure to check your trimming inside if you feel the pocket is not lying correctly.
Step 7: Fold The Pocket
Take the edges of the pouch a couple of inches down and press it into a fold. Then, bring this fold up to the top edge of the rectangular hole and press it down. There should just be a visible tiny slit.
Step 8: Stitch The Triangle
Open up the sides of your garment to show the triangles. Stitch the triangle to the pouch as close to your garment as possible applying a backstitch to secure the ends. This will hold your fold of fabric in place ensuring that nothing is visible on the outside of the garment.
Step 9: Pocket Bag
Turn your garment over and topstitch through all layers along the sides and bottom. It is advisable to use a matching bobbin to your pouch color sp that you will not notice the stitching.
Next, cut down your second pouch piece so it is the same size as the red pouch piece and put them right sides together. Stitch around the pouch pieces. Keep in mind that you will only be stitching through the pouch and not through the garment front.
Flip your garment to the right side and topstitch across the top edge.
And you’re done! You’ve just made a basic welt pocket that will look pretty professional from the front. Furthermore, the pocket bag is neatly contained on the inside of your garment on the wrong side.
Final Words
Mastering how to sew a welt pocket requires a bit of training. It will also help to try on some pieces of scrap fabric first when doing this tutorial. Although it is challenging, once you’ve mastered how to make welt pockets, you will see yourself trying out other more complex variations, including zip welt pockets, decorative welt pockets, slanted welt pockets, double welt pockets, or welt pocket with a flap!

