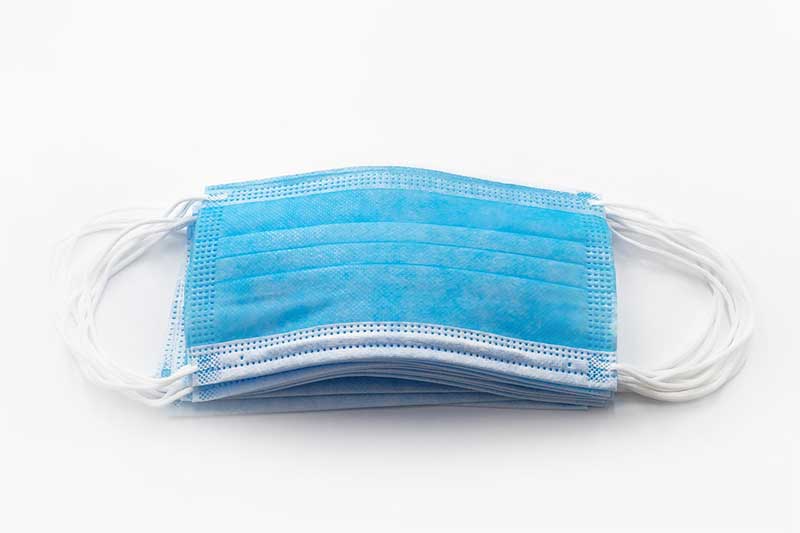
In this day and age, face masks are seen everywhere because of Covid-19. If you are having trouble getting masks, you might want to make one yourself. In this article, we are going to tell you how to make a surgical face mask, one that could easily be used in a hospital.
Table of Contents
What You Need
- 100% cotton fabric with a tight weave
- ⅛ inch flat and narrow elastic
- Sewing machine and thread
- Sewing scissors
- Ruler or sewing gauge
- Pins
Cut the Fabric and Elastic
If you are making a face mask for an adult, you will need to cut a rectangle out of the cotton fabric, 15 ½ inches long by 8 ½ inches wide. For a child, cut a rectangle of 13 ½ inches long by 6 ½ inches wide.
The elastic will be for the ear loops, so cut two 7 inch pieces for an adult and two 6 inch pieces for a child’s mask.
Sew the Fabric
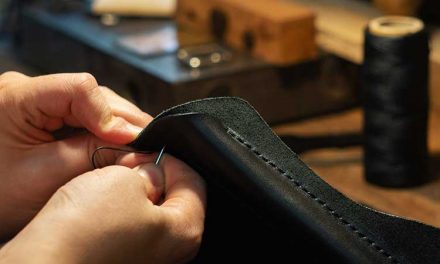
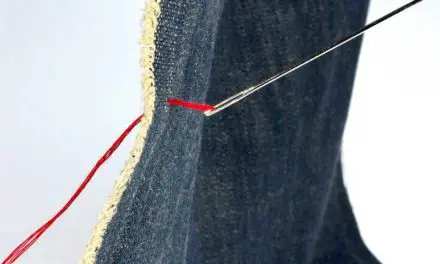
The next step is to fold the fabric in half with the right sides facing each other meaning that you are sewing inside out. Pin a seam allowance of ⅜ inch and then sew, leaving a 3 inch gap directly in the middle of the seam. This has a dual purpose. Firstly it gives you somewhere to turn the material to the right side. Secondly, it’s the opening for inserting the filter pocket.
You can make a mask without a filter pocket, but it won’t be as protective. If you decide not to have a filter pocket, you will still need to have the opening so that you can turn the mask to the right side. After you have sewn the elastic to the mask and the mask is on the right side, sew up the opening.
To ensure that the seam is strong and won’t come apart, it is a good idea to sew it twice. Put a double stitch at each end to secure the thread.
The next step is to iron the seam open. Then, on each side of the seam, sew either a topstitch or zig-zag stitch. This will give you a neater edge.
Sew the Elastic
You need to make the ear loops next with the elastic. Pin a piece of the elastic on the top and bottom of the short sides of the mask. Each end needs to be ½ inch from the top and also from the bottom of the sides. You need to place the elastic between the folds of the mask so that the ear loops will be on the right sides of the fabric when it is turned right side out. Then sew over the elastic a couple of times to secure them.
You don’t have to use elastic. Fabric will do just as well. To make this, you need four pieces of fabric, each 18 inches long. Sew one in each corner of the short sides. Then you can just tie the loops when you wear the mask.
Other choices of ear loops include strips of cotton material from an old T-shirt, bias tape, and twill tape.

Sew the Sides
The next step is to sew the sides. Use a straight stitch on your sewing machine and backstitch over the elastic so that it is secured in place. One thing you don’t want to happen is for the ear loops to break and to be left without a mask to protect yourself. The corners of the mask can then be trimmed.
Then turn the mask right side out and iron it. If the corners need to be pushed out, use a pencil.
Metal Around the Nose
It can be more comfortable to insert a piece of metal around your nose as it will give you a better fit. What you need to use is a piece of flexible metal. Put it in the mask through the opening and topstitch around the metal so that it won’t move when you are wearing the mask. There are alternatives to flexible metal, for example, pipe cleaners and wire.
Make the Pleats
You need to have three evenly spaced pleats in your mask that need to be ½ inch wide. You might be better off using a sewing gauge rather than a ruler as it is more accurate. The pleats must be pointing downwards otherwise they could catch germs from the air very easily. Pin the pleats into place and sew a straight stitch along the sides. You don’t need to sew the pleats lengthwise as they need to move with your face when you are talking.
Insert the Filter
A mask without a filter doesn’t give as much protection as a mask with one, but it isn’t much good if you can’t breathe properly so you have to choose your material carefully. To start with, if you have made your own mask, you will have folded it and this extra layer gives some extra protection. As a filter, you can insert a cutoff from a coffee filter through the hole at the top of your mask. Another option is a cutoff from a reusable fabric grocery bag. These bags are usually made from polypropylene nonwoven fibers which are excellent in protecting you from contamination. HEPA vacuum bags and HEPA air filters are good but do some research first as some contain fiberglass which is dangerous to inhale. It is important to change the filter every time you change your mask. You will need to wash your mask and throw away the filter.
Conclusion
As you have seen, making a surgical face mask is just a little more difficult than an ordinary face mask, so it is worth putting in a filter for extra protection. Remember also, don’t fiddle with the mask. If the filter is stiff and uncomfortable, you may be inclined to touch the mask which can lead to contamination from your fingers. It’s a small price to pay for your health.


