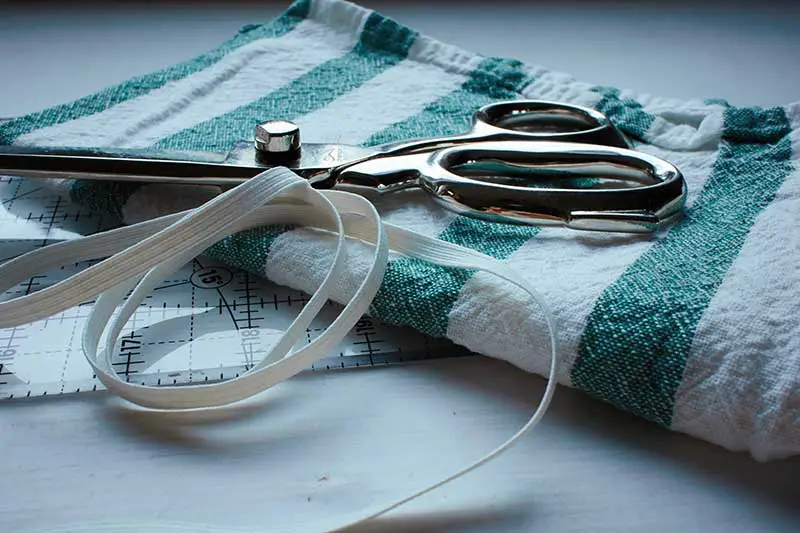
Elastic is used mainly to create waistbands, but it can also be used for many other things, such as in a headband. It is different sewing elastic to material because it stretches.
There are two different ways to sew elastic. You can either make a casing for the elastic to go through or you can sew it straight onto a garment. In this article, we will tell you how to do both methods.
Table of Contents
Using a Casing
Measure the Width of the Elastic
Your casing has to be slightly wider than the elastic. For example, if your elastic is ½ inch wide, add another half an inch.
Fold Over the Fabric
Once you have the right measurements, fold the material into the garment or headband. This way the raw edges won’t be seen. Pin the fabric into place. Use a ruler or sewing gauge to determine if the fabric is even all the way around.
Mark the area where you want to insert the elastic and put two pins on each side of the opening. Do this on the other end of the casing so that you can push the elastic through from one end to the other.
Sew the Casing
The next step is to sew the fabric about ¼ inch from the edge. If you are using a sewing machine, sew with a straight stitch, being careful to not sew over the casing opening.
Measure the Elastic
Once you have finished sewing the casing, measure the amount of elastic you need. To do this, measure around the area of the person who will be wearing the garment. For example, if he or she is going to have a waistband, measure around the waist. If somebody wants a tight fit, you may have to cut less elastic.
Fit the Elastic
Put a safety pin into one end of the elastic and start pushing the elastic through the opening. It is much easier to use a safety pin rather than trying to push it through without help. The best way to do this is to scrunch up the fabric and then straighten it out while pushing the safety pin through. Keep doing this until the safety pin comes out on the other side of the casing. It’s a good idea to hold onto the other end of the elastic while you push it through. If you find this difficult, pin the elastic to the other end of the casing. Be careful not to twist the elastic as that would be uncomfortable to wear.
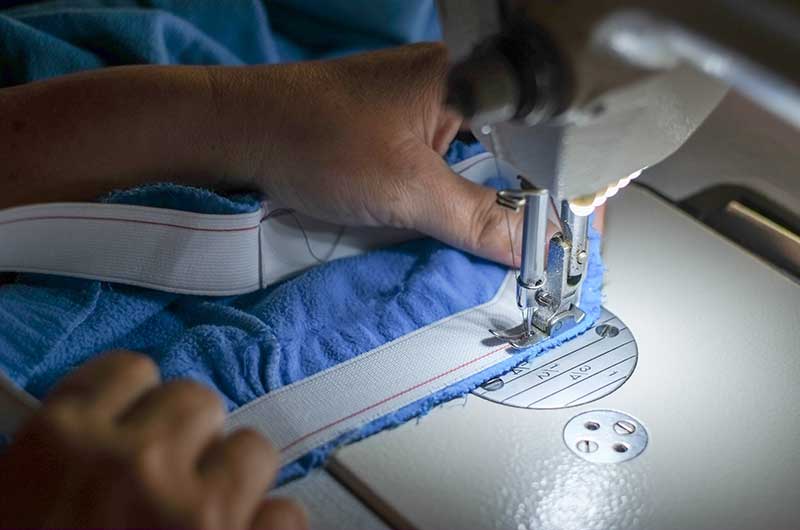
When you have gone all the way through the casing with the elastic, take out the safety pin and overlap the edges of the elastic a little, ¼ inch to ½ inch. Use your sewing machine to sew the elastic together with a zig-zag stitch Then sew the openings together with a straight stitch.
Sewing Elastic Directly onto a Garment
Measure and Cut the Material
First measure around the area of the body where the elastic is going to go. If the person wants a tight fit, cut a couple of inches off the measurement. You can probably cut up to four inches but not much more as it would be too tight.
Sew the Ends of the Elastic
There are two different ways that you can use to sew the ends of the elastic together. The first way is to overlap the ends of the elastic by about ¼ inch. On your sewing machine, sew a zig-zag stitch two or three times across the overlap. Sewing a few times will ensure that the stitches don’t come apart.
Alternatively, you can sew the two ends of the elastic by using a small piece of material. Line up the elastic on the fabric, the ends just touching. Using a zig-zag stitch, sew across the edges a few times to secure the elastic. Trim the piece of fabric so that it’s not noticeable. This method is probably the best way to sew the ends of the elastic together as it stops the elastic from bulging. This can happen if you overlap the elastic.
Pin and Sew the Elastic to the Fabric
Turn the garment inside out and pin the seam you have just sewn to the material. If there is a seam on the garment, pin it to this, otherwise, just choose anywhere suitable. On the opposite side, put another pin. In-between the pins put another two pins. Make sure that the pins are evenly spaced. The edge of the elastic needs to be ¼ inch away from the edge of the fabric. This means that the elastic will be hidden.
The next step is to sew the elastic to the fabric. Use your sewing machine on a zig-zag stitch and sew all the way around on the top of the elastic. Overlap the beginning of the stitching to make the elastic more secure. While you are sewing, stretch the elastic out particularly if it is shorter than the fabric. You want the fabric and the elastic to be the same length.
You will want to hide the elastic so fold the fabric over so that it is covered. You will need to fold the material towards the inside of the fabric. It needs to be even all the way around. When you have done this, sew along the bottom edge of the folded fabric, making sure that you pull the elastic taut. Again use a zig-zag stitch on your sewing machine. The stitch should be right on the bottom of the elastic. Once again overlap the stitches at the beginning. Turn the fabric the right way around and you’re all set.
Conclusion
So here we have two different ways of sewing elastic. Both take a certain amount of sewing skills and it might not be easy for a beginner. If you want the material to lay flat, it is best to sew a casing, but if you want a gathered item, it is better to sew the elastic straight onto the fabric.
