Felt is a wonderful fabric to work with and, with only a few guidelines and tips, you’ll be stitching away at your own felt creations in no time!
Table of Contents
What is felt and what is the best felt to use?
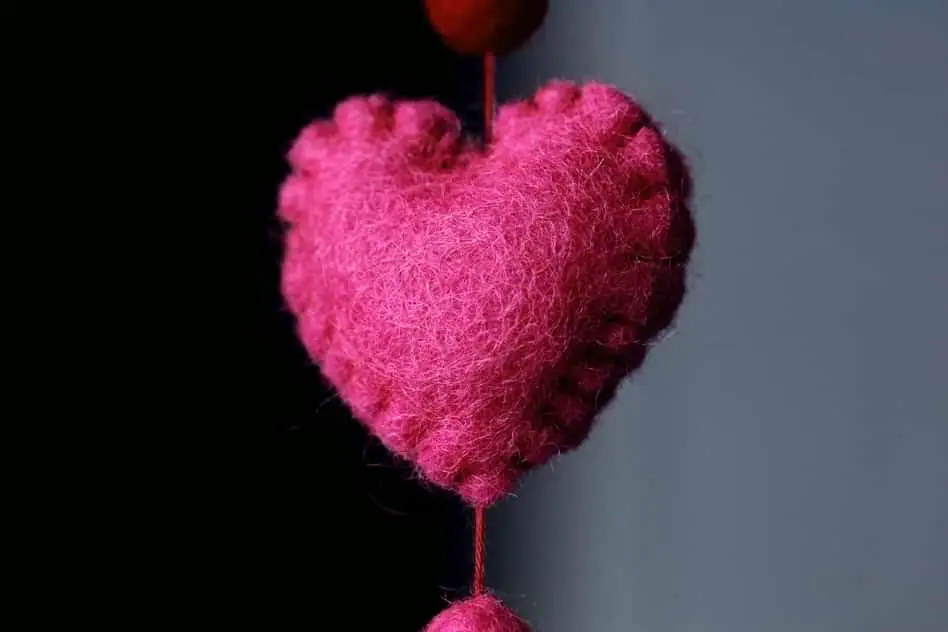
Felt is a type of fabric constructed through matting, friction, pressure or heat (or all of them) instead of through weaving. The fabric is made from wool, synthetic fibers like polyester, or a blend of them.
Synthetic felt fabric can now also be produced from recycled plastic water bottles. Felt is quite stiff, however, so it is not easy to construct a whole garment from it.
Pure wool felt is the best quality felt, with wool and synthetic blend coming in second. The small squares used for kids’ crafts is purely synthetic and is not advised to use for sewing that needs to have a lasting lifespan.
If you want your felt to last and not pill, 100% wool felt is the way to go. You will find that synthetic felt pills quite a bit, while wool doesn’t.
The best supplies to use when working with felt
Cutting
The most important tools for working with felt is the correct blade and needle. Blades include scissors and rotary cutters. A very sharp pair of scissors is needed to make clean cuts in the felt.
Keep a sharpener handy as well if you are going to cut out a large project. Embroidery scissors can be used to cut smaller details, but these, too, must be very sharp.
If you prefer using a rotary cutter, change the blade when you start working with the felt. In that way, you know that the cuts will be clean and you won’t snag the felt. Keep a pair of sharp scissors at hand for smaller details as well when you’re using a rotary blade.
Thread
For most felt projects you won’t need a special thread but can use ordinary sewing thread. Wool felt, or a predominantly wool blend should preferably be stitched using cotton sewing thread, while polyester, polyester-rich blends, and other synthetics should preferably be stitched using polyester thread.
When you are stitching together a number of layers of felt, however, normal sewing thread may not be strong enough. In this case, we suggest using upholstery thread or even perlé cotton. This thread is not much thicker than normal sewing thread but is a lot stronger. The upholstery thread can often be found with teddy bear and doll supplies.
The best way to choose which thread to use, however, is to test the different threads on your project and see which one will be more suitable.
Needles and pins
Different needles should be used, depending on the thread used, the thickness of the felt layers, and whether you’re sewing the piece together or adding embroidery as decoration, for example.
Hand sewing needles
If you are going to sew by hand, you can opt for a small doll’s needle (no need to grab that 6” needle!) if the layers are quite thick. However, you can also try to use a simple tapestry needle if you are only working through two layers. Make sure that the needle you are using to sew isn’t too thick so that it leaves visible holes once you have worked a stitch.
Sewing machine needles
When sewing with a sewing machine, use a medium-weight needle, as a light-weight needle might break and a heavy-duty one leaves visible holes. Always test the needle on a piece of scrap felt before you start working on your project.
Needles for embroidered decoration
If you are adding some tapestry wool or embroidery floss for decoration to your felt piece, a tapestry needle should do the job. Just remember that, if the needle is too blunt, it will be very difficult to work with.
Pins
Any pins that you use to keep the layers of felt in place during the stitching of a project should also be as sharp as possible. Sharp pins will help by not only making the pin easier to push through the felt keeping the tension steady. If you are only pinning together two layers of felt, stick to shorter pins as this will also help to keep the felt’s tension steady.
Making your projects
Sewing felt by hand
Small projects, for instance, small stuffed animals, Christmas decorations, and the like, can easily be sewn by hand. It may also give a better finish if you sew these types of projects by hand.
Using one of the needles as described in the “hand sewing needles” paragraph above, try some different stitches on scrap pieces of felt to see which will work better. When sewing by hand, the running stitch and blanket stitch are mostly used. Other stitches, for instance, stem stitch, are usually used for embroidered decoration after the construction of the piece.
Sewing felt with a sewing machine
Although small projects can also be sewn together with a sewing machine, the sewing machine is used more for larger projects. The sewing machine can also be used to stitch around a design’s borders before cutting the piece from the felt fabric, trimming it close to the stitches.
When you are going to work with felt, it is very important that you test your stitches and tension first on a scrap piece of felt.
Use a shorter stitch length and increase or decrease the tension slowly until you’ve reached the desired look. Too much tension may buckle the fabric as you work, giving it an uneven look.
For machine work, use short straight or zig-zag stitches.
Hand embroidery on felt
Hand embroidery looks beautiful on the felt. You can use normal cotton embroidery floss on the felt and you don’t have to use wool for the embroidery.
If you do split the embroidery floss, try to use no less than three strands at a time. The friction with the felt and the matted make-up of the felt fibers itself means that, if only one strand is used, it may easily break or may not even show up against the background.
Washing your felt project
It is important to note that felt is not machine washable. It must either be dry-cleaned or washed by hand. If you have felt toys that need to be washed, always wash them by hand using a cleaner that is specifically formulated for wool (like Woolite).
Leave the felt items to dry naturally, as putting them in the dryer will cause them to mat together thanks to the combination of heat and friction. Try and wash felt items on a day when there is a bit of a breeze or light wind. This will speed up the drying time.


