Waistbands are a nice addition to a pair of pants and they are pretty easy to sew so even a sewing beginner can try this out. They can be a replacement for a belt so you will want your waistbands to look smart. You can have elastic waistbands or curved waistbands, but today we will mainly be looking at simple straight waistbands,
Calculate the Size
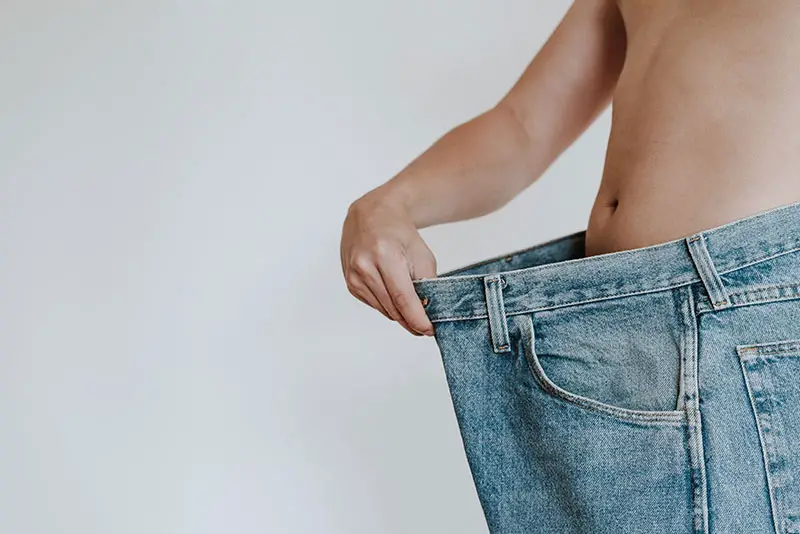
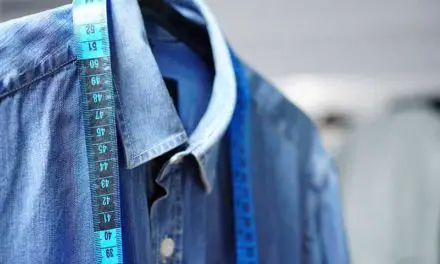
The first thing to do is to measure your waist. This should be the narrowest part of your body. Don’t pull your stomach in as you want to have a comfortable fit. Take into account any overlapping fabric and the seam allowance. The seam allowance should be ¼ inch wide. The length of the waistband should be your waist measurement plus space for fasteners and the seam allowance times two. The space for the fasteners should be two to three inches depending on whether you want to have more than one button or hook and eye. You will probably want the waistband to be the same color as the pants, but you might want to brighten them up with a contrasting color waistband. Perhaps, if you have a pair of pants in a solid color, you might want the waistband to be a print.
Wash and Iron the Fabric
Before you start sewing the waistband, it is a good idea to wash the fabric so that it won’t shrink before it has been added to the pants. Once you have the waistband sewn to the pants it won’t matter if it all shrinks. Once the waistband is dry, iron it so that it’s not wrinkly. You will want the material to be as smooth as possible.
Start Sewing
To sew a waistband for pants you will need a pattern, a hem gauge or ruler, and straight pins. It is totally feasible to make the pattern yourself if you have accurate measurements.
- We are going to take a look at a waistband that comes in two pieces, the inner waistband, and the outer waistband. The first step is to cut the material with rotary cutters. These help you to correctly cut through the material quicker than ordinary sewing scissors. They can even easily cut through multiple layers of fabric, so if you want to cut both pieces together, there’s no problem and it will be even easier to make sure that they are the same size.
- The next step is to take the inner and outer pieces and sew one of the long sides together so that you get a type of tube. You will need to have the fabric right side up and you may want to baste or tack the sides before sewing permanently. Alternatively, you could pin them together. It is a good idea to roll the inner waistband to the inside so that it won’t show. You need to roll it just ⅙ inch or even a little less.
- Now turn the waistband inside out so it’s on the wrong side and, using the hem gauge, measure the seam allowance on the inner waistband. If you haven’t got a hem gauge, a ruler will do, but you will need to keep checking that the width of the seam allowance is the same all the way around. Once you have done this, press the seam allowance into place. Make sure that the iron is warm, not hot as it could burn the material.
- Sew the outer waistband to the pants, right side to the right side. You will now want to make sure that you have got the right height of the waistband as it needs to fit comfortably. Perhaps you only want a slim waistband, but maybe you want a waistband that goes above your waist a little. The waistband also needs to be at the same height all the way around for consistency. The next step is to turn the pants inside out and press the waistband. The seam allowance needs to go up away from the pants.
- You then need to check the pressed-up fold on the inner waistband. It should overlap the stitching line by a maximum of ⅛ inch.
- The next step is to pin the fold of the seam allowance into place, ready for sewing. You will be pining through both the inner and outer pieces so make sure that you have strong pins. Now and again you will need to check that the inner waistband remains straight as it can get twisted during this step. In addition, check that the fold is an equal width all the way around.
- You can now either stitch in the ditch or topstitch along the seam. Stitching in the ditch is probably the best alternative. In case you’re new to sewing, the ditch is the low side of the seam line, right next to the fold. If you stitch in the ditch, you are sewing as close to the fold as possible. If the stitches are done well, they can be almost invisible, but just in case, use thread the same color as the fabric. You can pull your seam a little bit as you sew to make sure your stitches are in the center. If you have decided to sew a casing so that you can put elastic into the waistband, leave a space through which you can push the elastic through. You will need to put a safety pin at one end of the elastic to enable you to push it through. Otherwise, sew the two short edges together so that the waistband is secure.
Conclusion
As can be seen, it’s not too difficult to sew a waistband for your pants. Yes, they can be a little fiddly as you have very short width measurements, but a well-sewn waistband can make all the difference to your look. No need anymore for belts as a waistband is a great substitution.,