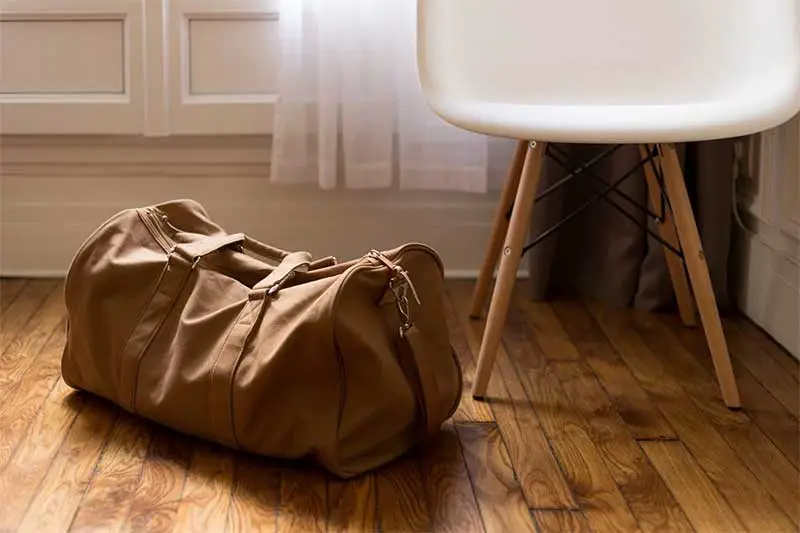
Today, we will show you how to make a travel bag at home that’s both stylish and fun. The size of this bag is 9 inches high and 18 inches wide, making it a convenient bag to use whenever you’re traveling. Plus, it comes with tons of carrying room. In fact, you fit as much as five full ensembles in it, just enough to provide you with plenty of options.
Furthermore, this travel bag has purse feet to provide bottom protection along with high-end detail. Meanwhile, its full-length zipper top closure will ensure that you’ll be able to get what you need with ease. It also has custom piped sides, which can serve as a pop of color to your bag.
So let’s start making your travel companion!
Table of Contents
Prepare The Materials You’ll Need
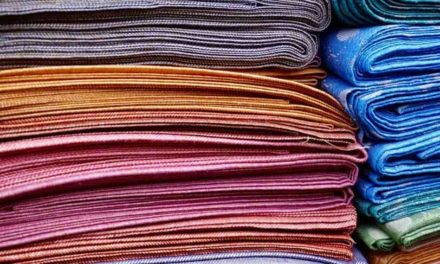
For this DIY travel bag, we will use 3 fabrics with different designs for that chic look. You can choose any designs and colors you want. But in this bag tutorial, we’ll go for a cool retro-chic vibe. To achieve that, we’ll combine fabrics with pin-up prints and polka dot prints.
- 1/2 yard fabric with pin-up prints
- 1-yard fabric with polka dot prints in yellow or your preferred color
- 1/2 yard fabric with polka dot prints in green or your preferred color
- 1-yard Fusible fleece
- 4 metal purse feet
- 18 inches zipper
- Zipper foot
- Pins
- Rotary cutter
- Iron
- Hand sewing needle
- Matching thread
The seam allowance is 1/2 inch unless otherwise specified.
Cut Your Fabric Pieces
From the fabric with pin-ups design
- 2 Main pieces at 19 inches wide by 15 inches high
From the fabric with yellow polka dot design:
- 2 Main pieces at 19 inches wide by 15 inches high
- 4 Circles at 9 1/2 inches in diameter
- 2 Strap pieces at 42 inches wide by 2 high
- 1 Bottom panel at 19 inches wide by 6 inches high
From the Fusible fleece
- 4 Main pieces at 19 inches wide by 14 1/2 inches high
- 4 Circles at 9 1/4 inches in diameter
- 2 Strap pieces at 42 inches wide by 2 high
- 1 Bottom panel at 19 inches wide by 5 inches high
Step-By-Step Instructions On How To Make A DIY Travel Bag
Step 1:
Iron fusible fleece onto the wrong side of all pieces. Make sure to center the slightly smaller fusible so there is even spacing on the sides of your fabric.
Step 2:
Starting with the shoulder straps, fold each lone strap in half lengthwise. And then stitch 1/4 inch from edge down one side. Next, clip the corner and turn them right side out using a pencil or knitting needle.
Step3:
Press strap so that seam is in the center. Then, edge-stitch along each strap.
Step 4:
With the right sides facing, stitch together the bottom edges of the two main outer pieces of your travel bag with a 1/2 inch seam allowance.
Repeat this with the lining pieces, but leave a 3-inch gap for turning.
Then, press seams open.
Step 5:
Take the outer part and pin each strap so that the ends are both 2 inches above the bottom seam and 6 inches inward from the sides.
Stitch straps to the main bag, sewing directly over the edge stitching and stopping 3 inches from the top raw edge.
Step 6:
Take the bottom panel and press the long sides under 1/2 inch. Make sure to center the bottom panel over the bottom seam of the main bag, pin, andthen edge stitch in place.
Step 7:
Now it’s time to attach the feet of your fabulous homemade travel bag.
Measure 3 inches inward from both sides, as well as 1 1/4 inches from the top and bottom of the bottom panel, and mark the placement. Use thread scissors to carefully make a small slit through each marking.
Step 8:
Insert the purse foot with the prongs pressed together and slip the washer over them. Push the prongs open and flat.
Repeat this step with the remaining 3 purse feet.
Step 9:
To create the custom piping, we will cut 2 strips on the bias with a width of 1 inch from the fabric with green polka dots print.
Keep in mind that you can do the cutting at a 60-degree angle instead of the typical 45-degree angle so that you’ll be able to obtain the entire length required out of the 1/2 yard cut.
Step 10:
Trim the strips and the two pieces of basic piping and make them at least 28 inches long.
Then, wrap the strip around the piping and pin it into place. Make sure to stitch close to the cording of the piping using a zipper foot.
Step 11:
With the raw edges together, sew the piping to outer bag circles. Again using a zipper foot for this, beginning at 1/2 inch from the starting end, which will be key for finishing.
When you reach the end, overlap the raw ends, slightly downward, and stitch into place. Now the outer circle sides are nice and piped.
Step 12:
Time to attach the zipper of your travel bag. With the zipper facing downward, pin a zipper tape along the top raw edge of one side of the main bag. Stitch along close to zipper teeth, leaving 1/2 inch length unstitched at start and end.
Pin the other side of the zipper tape to the other top side of the main bag. This will make a tube shape. Keeping the body of the bag out of the way, stitch zipper tape and fabric together. Make sure to leave 1/2 inch length unstitched at start and end.
Open the zipper a few inches. You will need this for turning later.
Step 13:
With right sides facing, pin both sides of the circle to the newly made cylinder. Stitch on top of the stitching of the piping. Clip around curves, careful not to clip into the stitching.
Step 14:
Time to assemble and attach the lining of your bag. With the right side of the fabric facing down, pin one side of the lining to the seam allowance of the already sewn main bag and zipper. Then, stitch over existing stitching with the zipper foot.
Pull the remaining raw side of the lining to the other side of the zipper seam and repeat. Now the lining will appear to be a tube connected at the zipper to the main bag.
Step 15:
Attach side circles as done previously. It will now look like the bags are connected at the zipper.
Carefully pull the right sides out through the gap in the bottom of the lining. Then slipstitch the gap closed by hand and push the lining inside of the main bag.
Now your bag is done and ready for you to take around the world!

