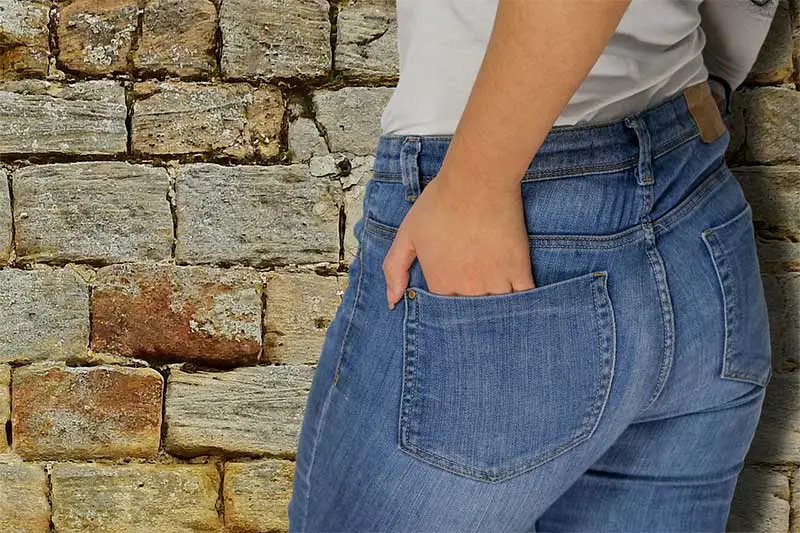
A pair of killer jeans are almost always too pricey. Fortunately, you don’t have to break your bank account to enjoy a fabulous pair of jeans. You can sew your own jeans.
How to cut and sew jeans is not one of the simplest sewing projects you can take on. But you will be able to overcome it easily by dividing the process into smaller parts and paying attention to the details. Keep in mind that fit and details matter most in terms of great-looking jeans.
So today, we’ll share with you simple tips on the right way to cut and sew a pair of jeans.
Table of Contents
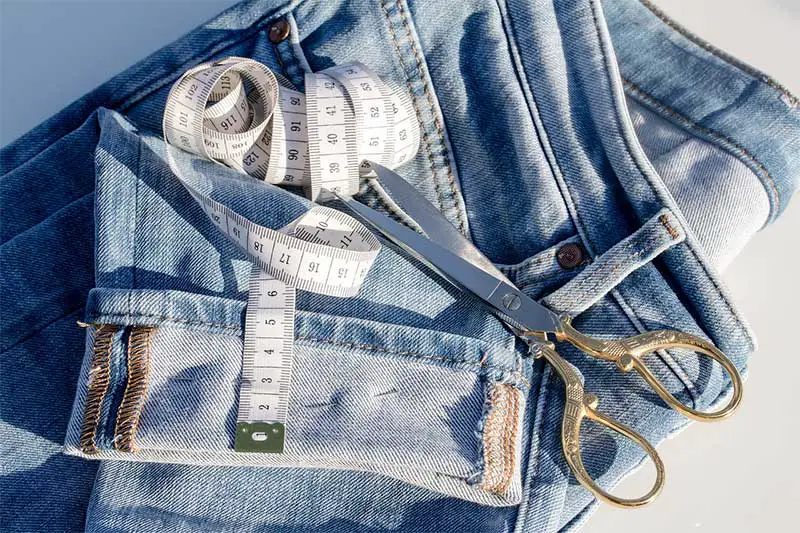
Measure Yourself
Before you can start making your own jeans, you will need to get some of your measurements. Doing so will help you select a pattern and purchase the right amount of fabric. Likewise, having these measurements around will come in handy whenever you want to make custom-fit adjustments.
The measurements you need to get are the following:
- Waist. The narrowest part of your waistline.
- High Hip. This is around your hip bones where a traditional waistband would sit at midrise
- Full Hip. It is the fullest part of your hip, normally around your booty.
- Thigh. The midpoint between your crotch and knee.
- Knee. The center of your kneecap.
- Calf. This is the widest part of your lower leg.
- Inseam. It’s the vertical distance from the midpoint of your crotch to the bottom of the ball of your ankle.
Pick The Right Pattern
There is a myriad of jeans styles out there. Hence, you will be able to find something suitable to your style preference and body type. Take time in sorting through the tons of pattern options you have, from massive pattern companies to indie designers. This will ensure that you can create the jeans you truly want to wear.
And as with all sewing projects, making your dream jeans mean you have to select a well-drafted pattern that comes with clear instructions.
Schedule A Fitting With Yourself
When it comes to sewing your own jeans, fit is everything. A good fit is the key here, whether you want something baggy, tight, or have all sorts of embellishments. So before cutting and sewing, run some tests first to ensure you have the right fit.
Furthermore, you may want to consider making a test garment or muslin of your jeans. This will make a massive difference in the outcome of your DIY project. When doing your test garment, use the same fabric type as you plan to use for your final pair of jeans. For instance, if you’re planning to create stretch jeans, look for a fabric with the same level of stretch for your muslin version.
Buy Your Fabric And Hardware
The main difference between a typical pair of homemade jeans and store-bought is the materials used in making them. Regardless if you have the best pattern, the jean you’ll make will not have a designer quality feel to them if you utilize poor materials.
What to look for when buying your supplies:
Stretch Percentage
This refers to how much you can stretch your fabric and not the percentage of spandex or elastic your fabric has. For example, if you have 4 inches of fabric that can stretch to around 6 inches, the stretch percentage of that fabric is 50%. Similarly, if it can stretch up to 5 inches, then it has a 25% stretch.
When shopping around for denim for sewing your own jeans, opt for a fabric with at least 30% horizontal stretch (2-way). Although it’s okay to use 25%, it does not offer the same comfort level as 30% if you want to make tight-fitting jeans for women.
Denim Weight
Denim fabrics are classified by weight, such as 8oz, 10oz, 12oz, and so on. The number represents the weight of the fabric per square yard. Therefore, the higher the number, the stronger the denim.
Lightweight denim typically weighs 12oz. Mid-weight denim is between 12 to 16oz, while heavyweight denim is 16oz or more. Often, spandex is added to denim to get that comfy stretch. It normally ranges from 1 to 4 percent.
Recovery
There are times when your denim may include the perfect stretch but does not bounce back very well, which is the recovery of your fabric. When looking for a fabric, you want it to have a strong recovery. This will prevent the legs and cabooses from sagging as you wear your jeans.
Components
When sewing your own jeans, you need the following hardware:
- To make wide-loom denim, you need about 1.6 meters of fabric. Meanwhile, you need 2.5 meters for selvedge denim or 3 to 3.5 meters if you’ll also use selvedge for the waistband and fly.
- Depending on your design, you will need several hundred meters of thread in different colors and thicknesses.
- Traditional jeans need four rivets. On the other hand, most contemporary designs require six rivets or 10 if you want your jean to have hidden rivets.
- You will need one button or four to five if you want to make button-fly jeans. If not, you need a zipper.
- Lining material for the front pockets of your jeans.
Sometimes, it may be challenging to get all of these pieces of hardware in one shop. So make sure to do your research first on where you can get them in place, locally or online, to avoid wasting your time.
Cutting The Fabric
Once you are ready to cut your fabric, plot the print-out of your pattern and lay it on top of your fabric on a table. This is a vital step since even the best matter will not matter if you don’t cut it perfectly. Furthermore, make sure to mark your denim correctly before cutting it properly. Otherwise, you will not be able to sew the cuts together how they are supposed to.
An ordinary pair of blue jeans requires about 20 separate pieces. However, this will depend on your design. Once you have cut all the pieces, mark them and bundle them by size.
Sewing Your Jeans
Usually, sewing a pair of jeans are broken into the following stages:
- Prep work
- Sewing the front
- Sewing the back
- Assembling the jeans
The first thing you want to do is to do some prep work. You need to make the belt loops, sew the pocket facings onto the pocket bags, and make the button and buttonhole strip.
Once you’re done with these, you can start sewing the front of your jeans. These include the fly, front rise, and front pockets. Then, for the back, sew the yoke, and then attach the back pockets and back rise.
The final step is to sew the front and back together, starting with the inseam, followed by the outseam. Next, sew the belt loops and waistband of your DIY jeans. Finally, add the trim.
What You Should Adjust Before Sewing
- Inseam length (height adjusting)
- The grade between sizes to fit you
What You Should Adjust After Sewing
- Crotch length and depth (everyone is shaped differently)
- Booty shape
- Back pocket locations
- Adjusting ease in the legs to fit you perfectly
When learning how to cut and sew jeans and making jeans yourself, do not settle for something that fits poorly. Your body is unique to you, so make sure to sew your jeans to perfectly fit it.


