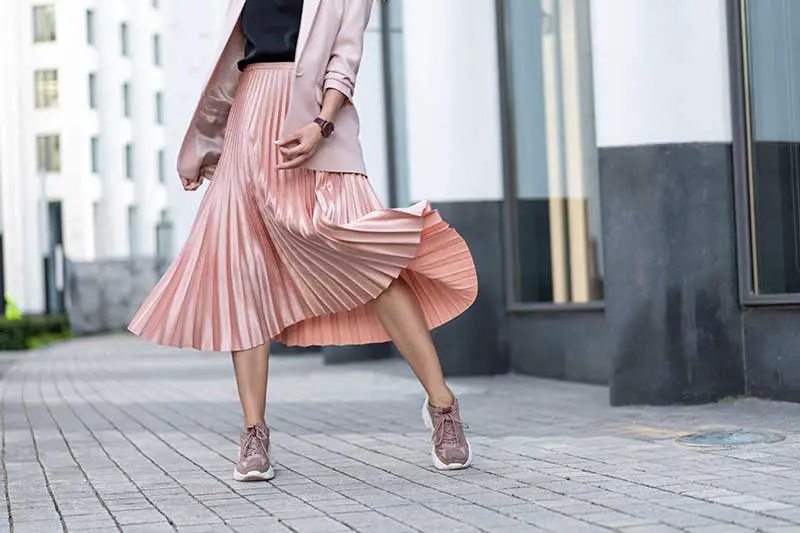
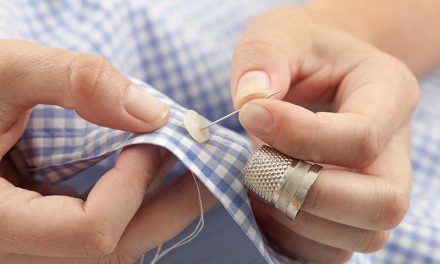
Pleats are a classic finishing touch to add a smart and neat look to dresses, skirts, and even curtains. They create a professional finish not only for dressmaking and curtaining but also for upholstery and decor items. Furthermore, pleats work very well when you are working with silk, cotton, wool, and other sturdy fabrics.
The steps on how to sew pleats are easy to learn. Simply measure and mark your fabric, fold it, and then sew to secure the pleats. Once you get the hang of it, you’ll see yourself getting tempted to use them on just about everything.
Table of Contents
Knowing The Right Fabric To Use When Sewing Pleats
One of the first things you need to consider is the type of fabric suitable for sewing pleats.
Cotton and linen are excellent fabric choices since they make up into crisp, neat pleats. Synthetic slippery fabrics are usually challenging to work with. Plus, they may need more thorough preparation with more pins and hand basting. On the other hand, heavyweight fabrics are often tough to pleat since they tend to become very bulky to sew neatly.
Pleat Anatomy
- Pleat depth. This is the distance between the outside fold and the inside fold on the pleat.
- Pleat underlay. The distance of the pleat depth, multiplied by two.
- Pleat spacing. This refers to the distance between each pleat.
Types Of Pleats
There are three basic types of pleats. These include:
- Knife pleats
- Box pleats
- Inverted box pleats
Pleats offer seamstresses tons of creative opportunities. For instance, if you want to achieve interesting effects, you may use contrasting topstitching and inserts.
The actual measurements and spacing of your pleats will depend on your material and the size or width to be pleated. Normally, you will find the measurements or markings in your pattern pieces.
How To Sew Knife Pleats
All exterior folds in a knife pleat face in one direction. Pintucks are a variation of a knife pleat.
Instructions:
Step 1: Marking
Mark out your pleats according to your sewing pattern.
Step 2: Fold the pleats
When you’re done marking the pleats, the next step you need to do is to fold and pin them on the right side of your fabric.
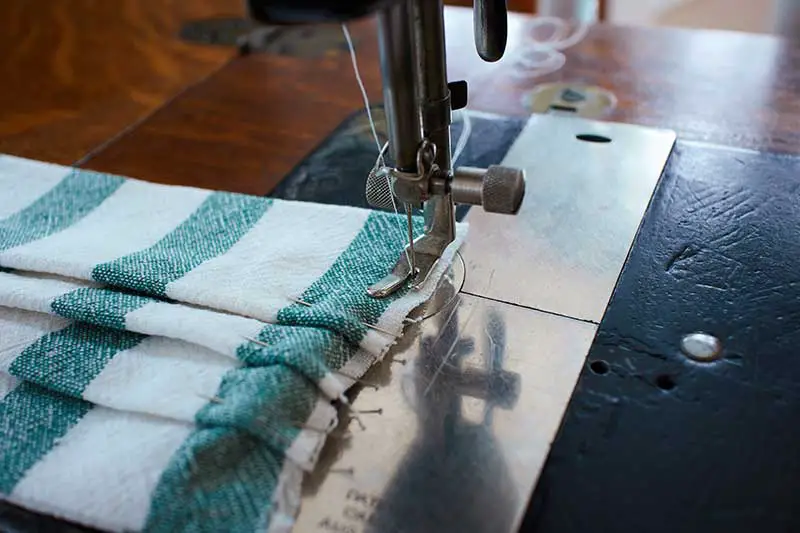
Step 3: Baste
Press the pleats firmly in place. Then, baste across the top of the pleats.
Following on from knife pleats, both the box and inverted box pleats are simply variations of the same pleat method.
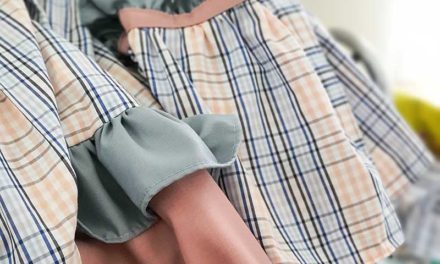
How To Sew Box Pleats
Box pleats are the classic pleat type. They are dramatic enough that one per garment will do. If you want to go bold, you may create a series of box pleats on your dress or skirt.
With this pleat, the two folds face away from each other, creating a box-like pleat. Sewing a box pleat is easy. Also, your pattern doesn’t call for one, it’s easy to add them yourself.
Instructions:
Step 1: Marking
Transfer the markings from your pattern.
Step 2: Fold the pleats
On the right side, fold along the pattern line and bring the crease over to the other line of your pattern. At this point, each side is folding in the opposite direction.
Step 3: Baste
Press the pleats firmly in place. Then, baste across the top of the pleats.
How To Sew An Inverted Box Pleat
Similar to a box pleat, an inverted box pleat has exterior folds that face each other. Additionally, it has the same principles as the box pleat. Nevertheless, both edges of the pleat are facing each other.
Instructions:
Step 1: Marking
Draw 3 parallel lines. The measurement should be at least 2 inches apart.
Step 2: Fold the pleats
On the right side, fold along the pattern line and bring the creased edge in to meet at the centerline of your pattern.
Step 3: Baste
Press the pleats firmly in place. Then, baste across the top of the pleats.
Difference Between Pleats And Tucks
The difference between pleats and tucks is quite subtle and can cause a little bit of debate among sewers. You’ll notice that pleats are secured on the top, bottom, or both, depending on the type of pleat. However, they can still open.
On the other hand, tucks can be a little pleat-like or dart-like. They are folds, just like pleats, that are secured entirely or nearly entirely. To create a tuck, you are basically stitching down part of the length of a pleat.
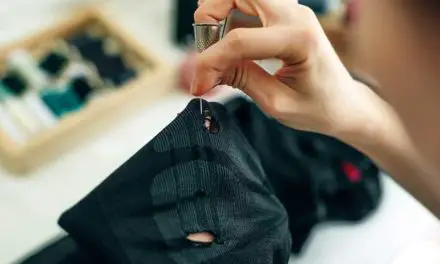
If you want your garment to have a fun, decorative element, consider adding pintucks.
Tools For Pleating
Other pleats such as accordion pleats, concertina pleats, sunray pleats, and crystal pleats follow the same principles. Likewise, they can provide you with opportunities to add variety and interest to your sewing. However, one of their biggest drawbacks is that they may require the help of a professional pleater.
You will be able to create accurate pleats on larger projects by using pleating boards. These boards feature spaced slats where you can insert your fabric. Once your material is in place, you will then press it. These are available in various sizes and different pleat widths. For smaller pleats, ruffler feet can be useful as well.
Essential Tips On How To Sew Pleats
- The best time to finish the hem is before you set in the pleats.
- One great way to add a bit of fullness or detail to home decor ideas or a garment is the box or inverted pleat
- Incorporating pleats at the back of a shirt or small kick pleats on your skirt can help showcase their style and give your projects some detail. Just look at fashion pages and decor magazines and you’ll see how pleats are being used to help enhance the couture world.
Final Words
After following these few simples steps on how to sew pleats, you can now attach them to the rest of your garment. It can be either a yolk, a waistband, or even a tape for your curtains. You can topstitch the pleats or leave them loose. Topstitching can serve as a way to neaten your pleats and to keep them secure and not too full over the waistline as well.