Zippers can feel very intimidating if you’re a beginner sewer. But they are actually quite easy to pull off, and some are easier to insert than others like the invisible zipper. Adding one will not have visible machine stitching from the right side of your project. You make everything behind the scenes, entirely concealed within the seam allowances.
Knowing how to sew an invisible zipper is very handy. You can use it in dresses, tops, skirts, and even decor pillows. If you want to sew this all the time, it is advisable to invest in an invisible or concealed foot zipper, which can save you plenty of effort and time. Along with that, it will give your sewing projects a more quality look in comparison to using a regular zipper foot.
Table of Contents
- 1 What Exactly Is An Invisible Zipper?
- 2 When Can I Use Invisible Zippers?
- 3 Tools You’ll Need
- 4 Step-By-Step Guide On How To Sew An Invisible Zipper
- 5 Final Words
What Exactly Is An Invisible Zipper?
When buying an invisible zipper, make sure to do your research first. There are a lot of shops that are notorious for selling the wrong one to people that have no idea what it is.
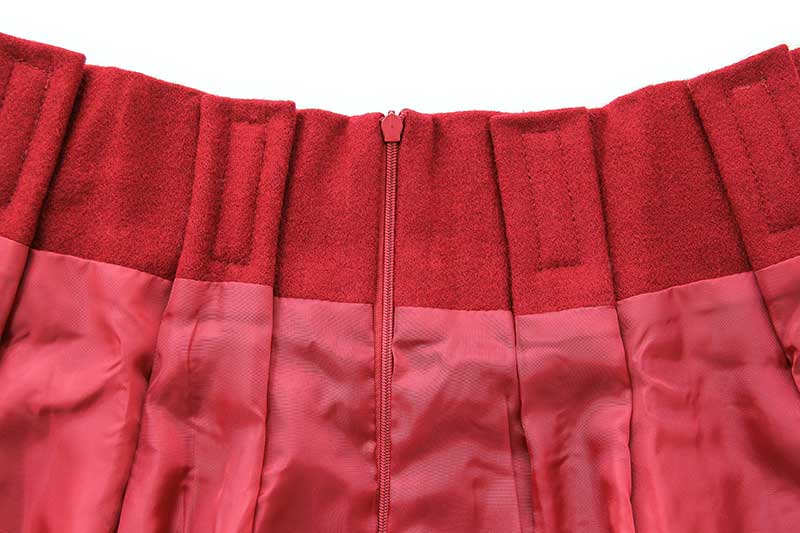
The teeth of an invisible zipper should be hidden from the front. Its zipper pull will be small and the teeth will be visible from the back. These types of zips are available in various weights. Most seamstresses prefer lightweight invisible zippers. Nonetheless, if you are working with heavyweight fabrics or making a garment that may take some strain, it is advisable to use medium weight.
When Can I Use Invisible Zippers?
You can use invisible zippers in a wide array of sewing projects, including dressmaking and home furnishing. On garments, you can use it on trousers, dresses, tops, and skirts. Generally, you place it in the back or side seams of items, providing your garment with a flat finish with an invisible fastening.
The only time it is not advisable to use an invisible zipper is when you are working with a very thick fabric. Likewise, it is not suitable for corsets or where the garment will be under tons of pressure. That’s because the zip is likely to break when you put it under a great amount of pressure.
Tools You’ll Need
As mentioned, it is a good idea to buy an invisible zipper foot to make the entire process a lot easier. But if you don’t one available, it will still be possible to sew an invisible zipper with a standard sewing machine foot. You just a little practice to get the hang of it. You will need a standard zipper foot as well. This tool often comes with the majority of sewing machines.
Aside from these, you need to prepare the following supplies:
- Garment
- A pair of scissors
- Pins or tailor’s chalk
- Sewing thread that blends or matches your fabric
Step-By-Step Guide On How To Sew An Invisible Zipper
Follow these simple steps and your invisible zipper will be inserted in no time.
Step 1: Prepare The Fabric
Keep all pieces of your fabric flat and not sewn together at all. You will apply the zipper from the right side of the fabric and the seam must be entirely open.
Step 2: Finish The Seam
Before you apply the invisible zipper, finish or neaten the seam edges of your garment if necessary. Keep in mind that necklines may have to stay stitching along the edge. This will stop them from stretching out while you insert the zipper.
Important note:
If you’re working with an invisible zipper in a side seam or cushion cover, you must sew it into position before sewing your garment at the bottom of the seam or on either side of the zipper, both bottom and top. You’ll find it easier working with your fabric if it is flat and before you have joined plenty of garment seams together.
Step 3: Mark The Zipper’s Position
Mark your seam allowance on the edges of your fabric using pins or a tailor’s chalk to determine where it will lie. Make sure to check your pattern. However, this will generally be about 5/8 or 1/2 inches.
Step 4: Prepare The Invisible Zipper
Open your invisible zipper and turn it to its backside. Check your iron settings and ensure they are on low to avoid melting the plastic zipper teeth.
Then, gently press open the curled zipper teeth so they lie straight and slightly flat. They will generally re-curl slightly when you are finished but not as much as they were initially.
Pressing open the curled edges will enable you to get closer to the edge of the tape for maximum invisibility.
Step 5: First Edge
Open the zipper up and lie it right side down with the zipper teeth on the marked guideline. It is important to ensure that the zipper head is facing down.
Pin it in place with the zipper teeth facing away from the edge. If you’re working on a slippery fabric, it’s recommended to baste it in place.
Alternative method:
If your pattern has a finished edge, it may be a bias edge or folded edge, place the top tooth even with the edge. You can then fold the ends over when you are done.
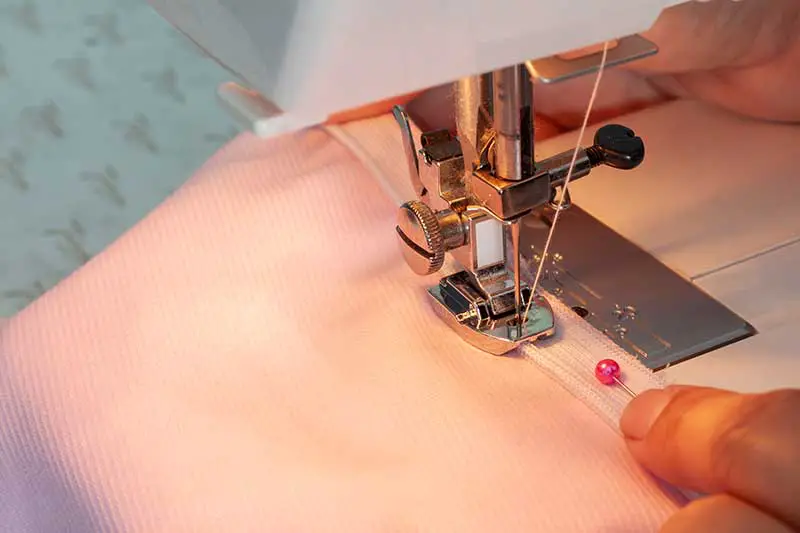
Step 6: Stitch The Zipper
Beginning at the top edge, stitch the zip in using either your regular or invisible zipper foot. At the bottom, stop at the end of the teeth. You may need to move the zipper head out of the way to do this at the end.
Invisible zipper foot:
Put the zipper teeth under the foot and into the left groove. Then, sew all the way to the bottom. Before you begin, check and make sure that your needle will not hit the metal of the foot. You may need to move your needle across slightly.
Regular zipper foot:
Simply sew as close as possible to the edge of the zipper teeth.
Step 7: Other Side Of Zipper
Put the two pieces of your fabric side by side. Next, flip the piece with the zipper over to the other side. Doing so will place the opposite side of the invisible zipper in the right place for sewing. Then, repeat steps 5 and 6, stitching the edge of the zipper.
Step 8: Stitch The Seam
Do up the zipper and prepare to finish the job by sewing up the back seam. Pin your back seam from the bottom of the seam to the end under the bottom of the zipper.
Pull the zipper tape ends out of the way by lightly moving them to the side. Now, start sewing using a backstitch as close as possible to your previous line of stitching. Make sure to overlap a bit to form a line of continuity. Follow down to the bottom of the seam.
Step 9: Press
Press the back seam open and check the zipper lies flat. Check and ensure that there are no bulges or small bubbles along the way.
Final Words
Now you’re done learning how to sew an invisible zipper! The entire process is pretty simple but can give your tops, dresses, or skirts a nice, clean finish every time.


