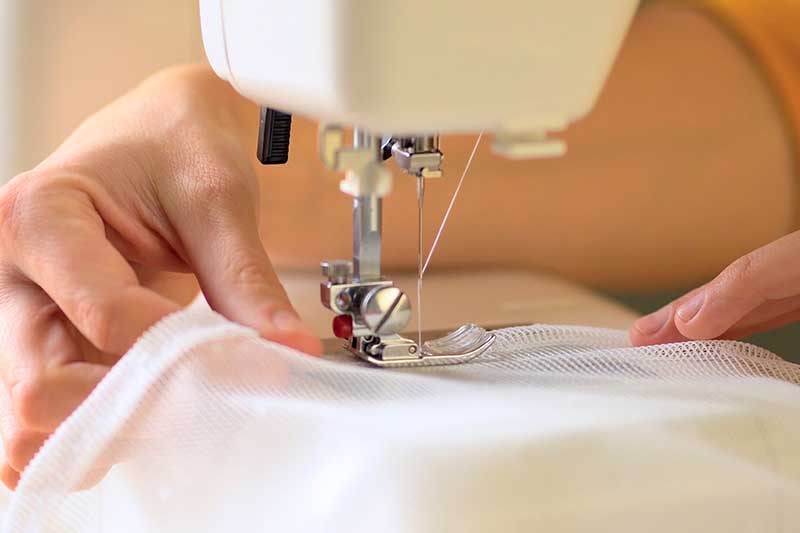
A rolled hem is arguably one of the nicest things you can do with a serger. Of course, it’s also possible to make rolled hems with a regular sewing machine, but they will look nowhere as nice as those done with an overlocker! Not just one of the easiest ways to finish off the edges, a rolled hem is sometimes also necessary.
The good news is, it is really easy to sew a rolled hem with your serger. The only part that is slightly complicated is putting the serger settings and the needle setup in order. But if you do that right, there is really not much else to worry about. Ready to sew a serger rolled hem? Let’s start!
Table of Contents
Two-Thread Rolled Hem and Three-Thread Rolled Hem
Most sergers can do rolled hem using either two or three threads. However, some segers don’t come with the two-thread option. If this is your case, simply disregard this part and go ahead and do the three-thread rolled hem. A three-thread rolled hem works just as well in virtually every case.
But what’s the difference between a two-thread rolled hem and a three-thread rolled hem? Obviously, there are two threads instead of three. The thing is, on a three-thread rolled hem, the third tread basically stays right under the needle thread, in a straight line. The third thread does make the stitch stronger, but also more bulky. This might sound a bit confusing at this point, but go ahead and try both versions on a piece of scrap fabric. You’ll easily notice the difference between the two hems.
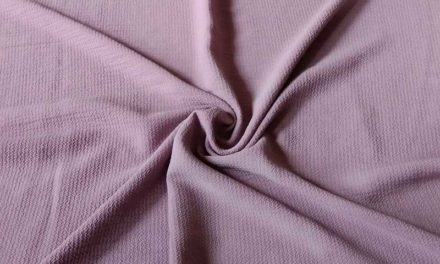
For this reason, a two-thread rolled hem works wonderfully for lightweight fabrics. The difference is subtle, but noticeable. A two-thread rolled hem is a good choice for any lightweight fabric like organza, chiffon, or silk. It’s our go-to choice for fluffy skirts and dresses and gentle scarves. When the fabric is thicker, and especially if it’s heavy (like cotton), use a three-thread rolled hem even if you have the option of only using two threads.
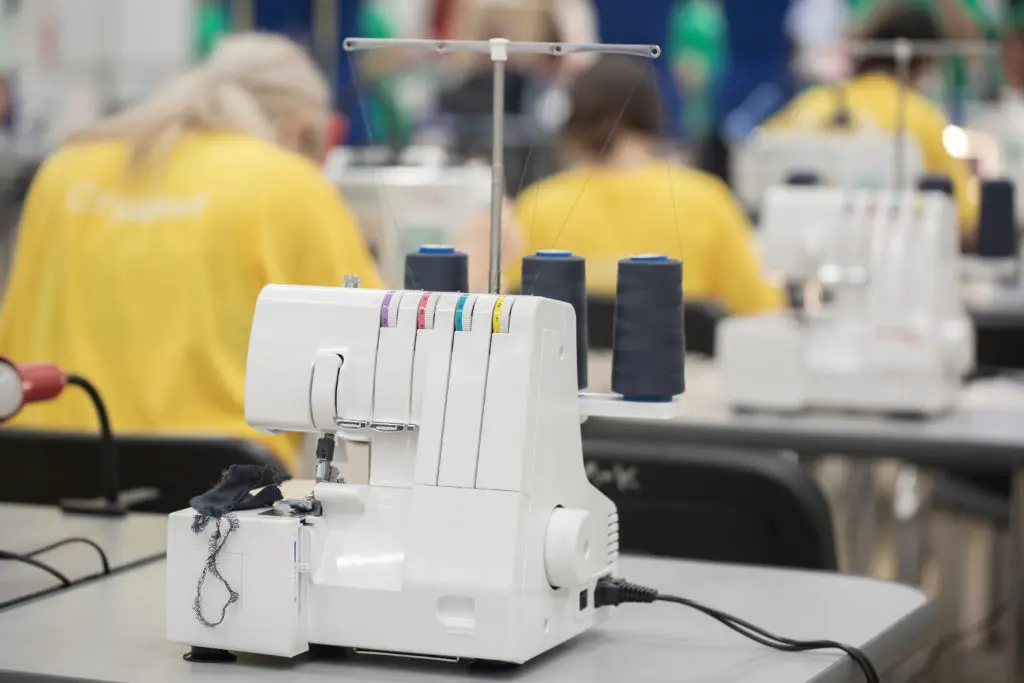
Serger Setup
Sewing a rolled hem requires a bit of messing around with the settings of your serger. And unfortunately, we can’t tell you exactly how to do it. This is because each machine is slightly different, and the way you do certain adjustments differs. However, your manual will always include direction on how to do a rolled hem, so make sure to follow those. Still, while the details may differ, the basics are the same. Here is what needs to happen:
If you are using an overlocker with two needles, you’ll want to use the needle set to the right. Conversely, you will need to remove the left needle. This is usually done by simply unscrewing the needle. Make sure to keep it in a safe place and return it when you are done. These needles are notoriously easy to lose!
The next step is adjusting the stitch finger. In order for your stitches to be narrow and look pretty, the finger needs to be either removed, changed, or set to the lowest setting. This depends on the serger model in question, so check your manual.
The next thing you’ll want to adjust is the stitch width. The way you do this can also differ depending on the serger, but if there is a dial for choosing stitch width, make sure to set it on the narrowest setting.
When it comes to the blades, you’ll want to keep them engaged. How far you want to set the blade depends on the fabric and requires a bit of trial and error. If you set the blade as far as possible (therefore cutting off less); the rolled hem will be easier to sew, but also bulkier. If you don’t want your edges too bulky, try moving the blade closer in order to cut off more fabric – but not too close.
Tension Settings
Thread tension is the key to a successful rolled hem. In fact, setting the thread tension right is what creates the rolling effect. For a rolled hem, the upper looper needs to be really loose, while the lower looper is tightened. In this way, the upper looper thread can be wrapped around the edge of the fabric.
While exact numbers depend on the serger and on the type of fabric you are using, the upper looper setting should usually be between 3 and 5, while the lower looper will require higher tension (usually 6 or 7). If you are unsure, the best thing to do is try the hem out on a piece of scrap fabric. Play around with looper tension settings until you see the fabric rolling. Just remember that the lower looper should always be tighter than the lower one.
Stitch Length
The stitch length will affect the look of your hem the most of all the settings. You can choose basically any setting you like. When you choose a higher setting for the stitch length, the stitches will be set further apart. The lower the number on the dial, the closer the stitches will be to each other. So, if you want a hem that is completely filled in, choose the lowest setting. For a more filled look, use a bulkier thread too.
Differential Feed
One setting we didn’t mention so far is differential feed. Most sergers will let you set the feed speed individually for each thread. And this can help you fine-tune the look of your hem. For heavier woven fabrics, an even feed is usually the best choice (differential feed set to 0). However, sometimes changing the differential feed settings slightly will give you a neater look. If you want to do a lettuce-style rolled hem, increasing the differential feed setting can make it go more smoothly.
Serging a rolled hem is not hard. It’s all about choosing the right settings, and once you get that right, it should all be smooth sailing from there. In any case, we wish you the best of luck with your new projects!