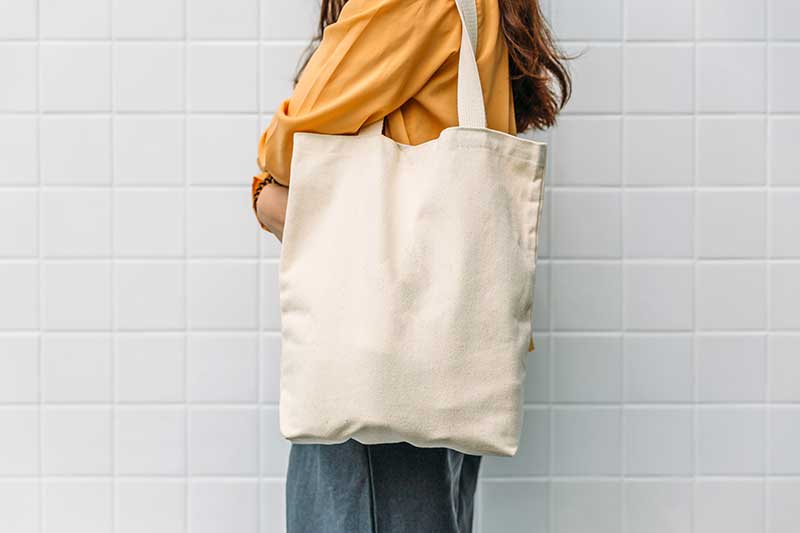
Tote bags are the talk of the town. They’re great for so many things, from serving as school books to carrying groceries. They’re also great for new moms taking their babies to the park. Everything from diapers to toys can fit in there.
Another thing that’s great about tote bags is that they’re easily made. You don’t have to be a master in sewing to create one of these. You only need a couple of sewing tools and a bit of patience. In this article, we’ll cover everything you need to know to make yourself this beauty.
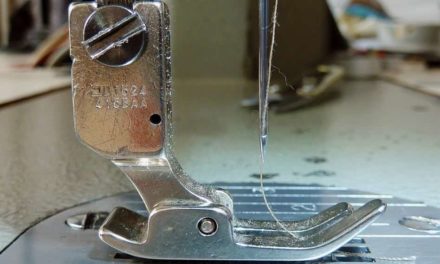
Here are the things you’ll need before you dive into picking the fabric. You can sew the tote bag by hand, but a sewing machine will get the job done faster. For this project, a standard walking foot will do just fine.
No matter what you plan on carrying in your tote bag, it will need some reinforcing. Fusible interfacing is your best tool for helping the bag keep the shape no matter what’s inside.
The needle and the thread of your choice will depend on the fabric you’ll pick. A ballpoint needle is great for knit fabric, while a sharp needle is more suitable for fine wovens and fine fabrics. When it comes to picking the right thread, it’s best to match it to the fabric. For example, if you’re working with polyester fabric, go for a polyester thread.
Preparation
Let’s start by picking the fabric for your tote bag. It’s the simplest, yet also the hardest part. There are so many choices! You can choose whatever you like, from denim and cotton to silk and velvet! And after you choose the fabric, you need to decide on the pattern and colors. While you’re troubled with this task, here are a few things you should keep in mind.
Pick the fabric according to what you’ll be carrying in the bag. For example, if you’re going to use it for carrying groceries, you should pick something sturdy, like denim. Otherwise, the burden will cause your tote to snap on seams.
Pretreat your fabric. This step is crucial for every sewing project. You don’t want your tote bag to become a clutch in one wash.
The next step is cutting the fabric. Use a ruler and a fabric pen, and mark two equally-sized rectangles. Then, use sharp shears to cut the fabric. When deciding on the size, don’t forget that hems take up a few inches, so the final result will be somewhat smaller. Use a fabric pen to mark where the handles will go later.
Now cut the fusible interfacing. It should be just slightly shorter than the rectangle fabric piece. Place it on the wrong side of the outer fabric. Use the iron and press it until it gets attached to the fabric underneath.
Sewing
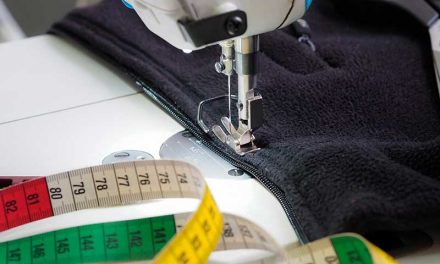
It’s time to start sewing. Always start with hemming the top edges of both rectangle-shaped pieces of fabric. Place down those pieces of fabric in such a way that the wrong side is facing up. Then, fold the top edge down by around an inch. Pin and iron the edge, then repeat the process on the other side. Now it’s ready to be sewn. This is best done with a straight stitch.
Next, you should connect two pieces of fabric together. Lay down both rectangles one over another in such a way that wrong sides are facing out. Sew three unhemmed sides with the straight stitch.
Now, you need to make corners. To do so, turn the bag to the side, then open it up. Basically, you want the seam to be facing upward. Then, create a new seam, which is at right angles to the first one. Do the same on the other side.
Handles
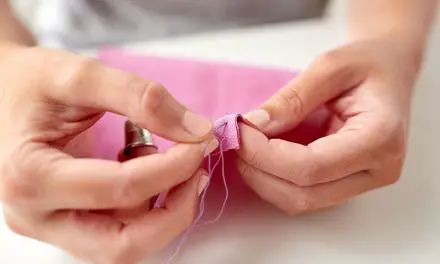
After you’ve done with the bag’s body, it’s time to make the handles. These can be made of the same fabric used for creating the tote, but you can pick whatever you feel like. Think about how long you’ll want them. When cutting the fabric, don’t forget that they’ll loop, so double the length. Just like you did with the main part of the bag, place the fusible interfacing on the wrong side of the outer fabric. Press it down with an iron until it’s attached. Then, fold it in half and press them down again, with the inside of the material facing outwards.
For sewing the handles, use the same stitch you used for the other part of the bag. Now you need to turn them the other way around, which seems tricky. Here’s a simple trick for which you’ll need one thing everyone has at their homes. A wire coat hanger. Unwind it to make a long wire with a hook at the end. Push it through the tubed handle, attach the hook to the edge, then pull it back through.
Remember you marked the spot for handles before? Fold the edges by half an inch and press them with an iron. Place them above those markers and pin them down. Now put the machine to work. With a classic topstitch, create a square around the overlapped end of the fabric.
How To Sew A Drawstring Bag
Once you master sewing a tote bag (which shouldn’t take more than one or two tries), you’ll be able to make another popular type of bag. Yes, we’re talking about a drawstring bag. People of all ages love this bag since it’s practical. But what most people don’t know is that it’s so easy to sew, too.
When preparing the fabric for a drawstring bag, repeat all the steps you would do when sewing a tote bag. Then, hem the top edge just like the instructions say. This is where we add another step.
Turn the top down again for one inch, and stitch over the hem you did previously. Thread drawstrings through those casings you just made on both sides. Then, proceed with sewing the other three sides and make the corners. Tie the drawstring on each end and you’re done!
Conclusion
As you can see, making a tote bag is a piece of cake. We hope this article was helpful and you’re already planning your new project.
